
Brown Butter Sage Dinner Rolls (Omnia Oven Recipe for RVs)
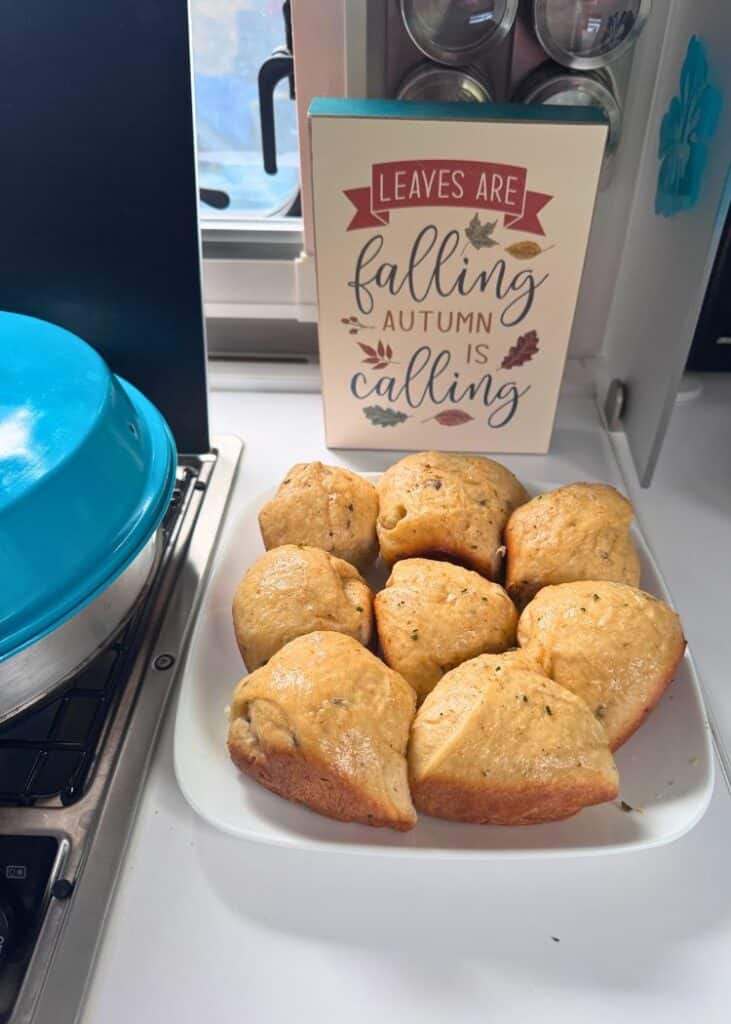
There’s something special about baking fresh bread while camping. The smell fills the trailer and instantly makes it feel like home.
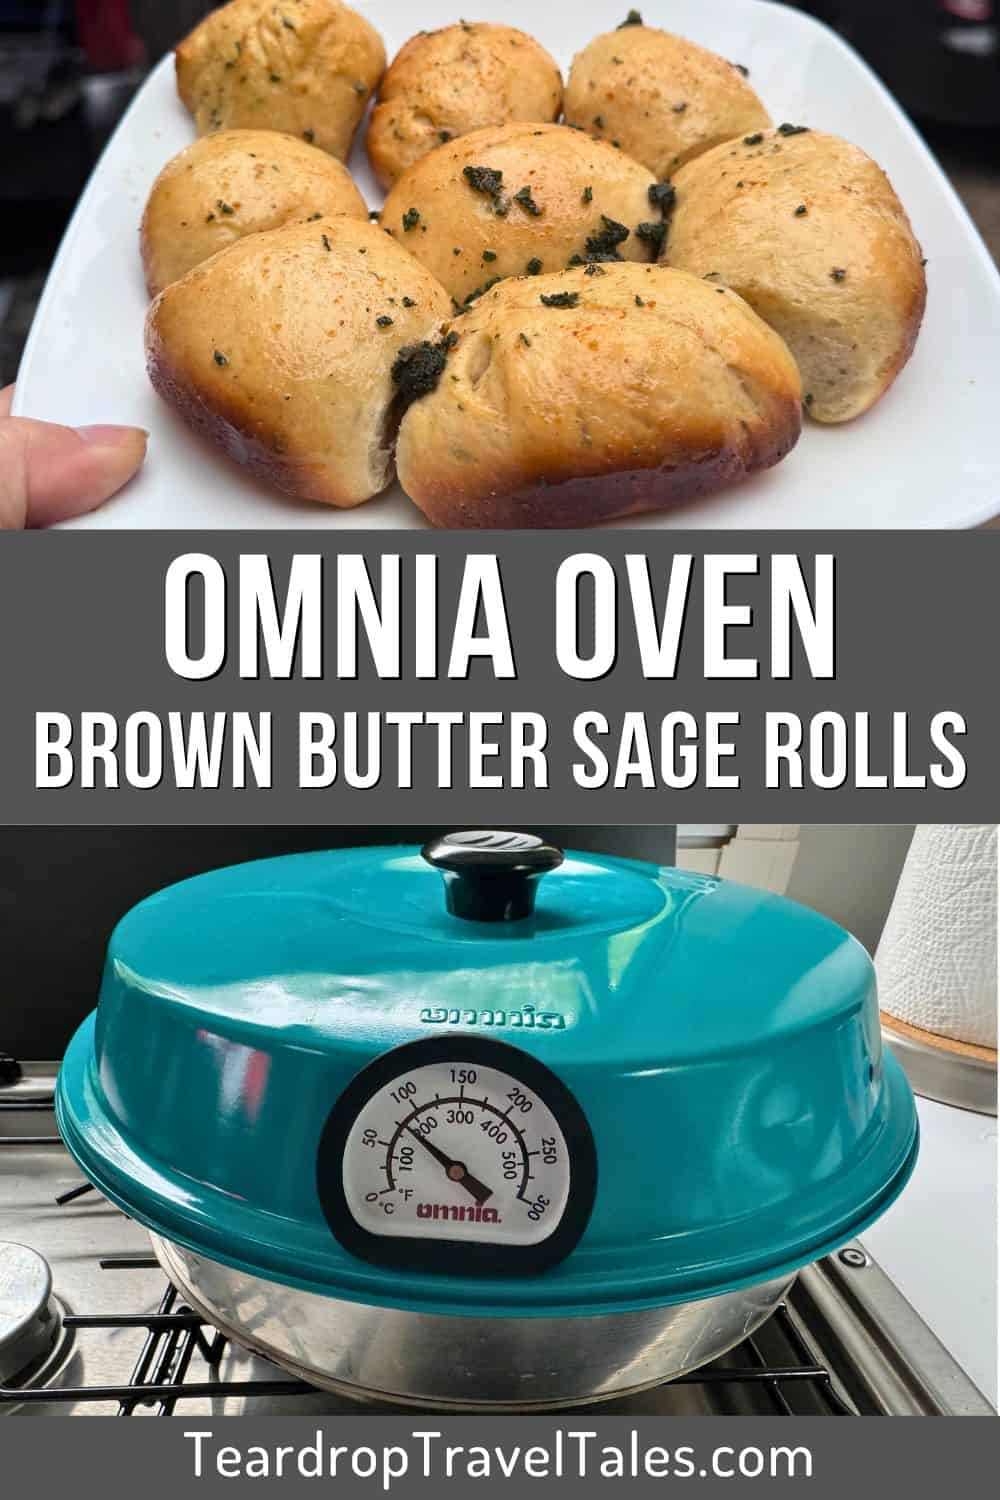
These Brown Butter Sage Dinner Rolls are soft, rich, and full of flavour.
They pair perfectly with a soup, stew, roast chicken, or any hearty fall favourite that you like to whip up at the campground.
And yes, they bake beautifully in the Omnia Oven. Of course, if you are lucky enough to have a conventional oven in your rig, this recipe will work fine as well.
Why You’ll Love This Recipe
The good news is, you don’t need to be a professional baker to pull off these delicious rolls. They are not all fussy to make.
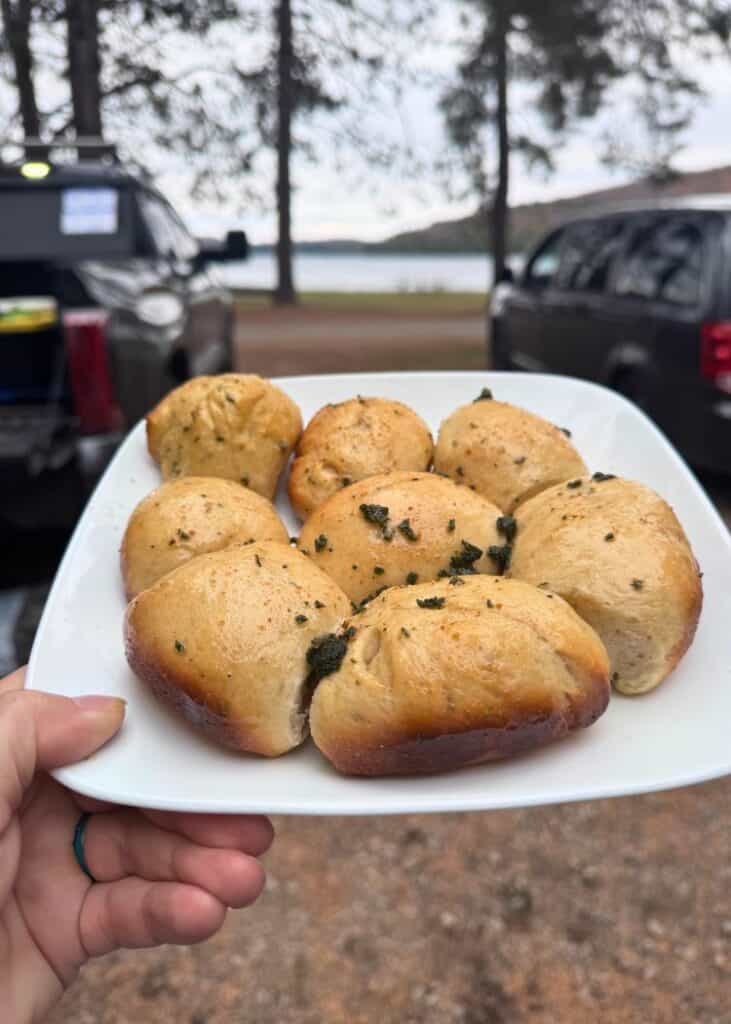
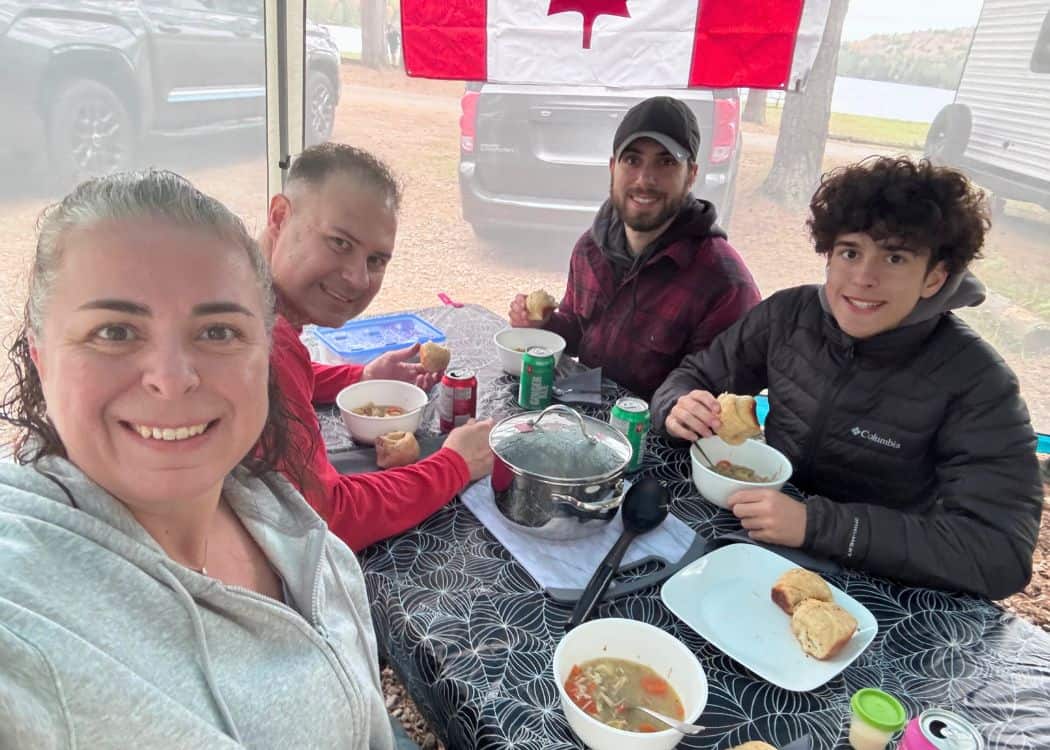
The last time we made these rolls was for our Thanksgiving dinner in Algonquin Park.
We actually started the process at home, did the final rise on our drive to the park, and then baked them while we were setting up our campsite.
They turned out wonderfully!
How to Make Brown Butter Sage Rolls
1. Brown the butter
Melt butter in a small pan over medium heat.
Add 3–4 sage leaves and cook until the butter turns golden and smells nutty.
Remove from heat and cool slightly.
2. Activate the yeast
In a bowl, mix warm milk, yeast, and honey.
Let it sit for 5–10 minutes until foamy.
3. Make the dough
Stir in cooled brown butter (remove sage leaves), beaten egg, salt, chopped sage, thyme, and 1 cup of flour.
Add remaining flour slowly until a soft dough forms.
4. Knead and rise
Knead for 5–7 minutes until smooth.
Place in a greased bowl, cover, and let rise until doubled (about 1 to 1½ hours).
5. Shape the rolls
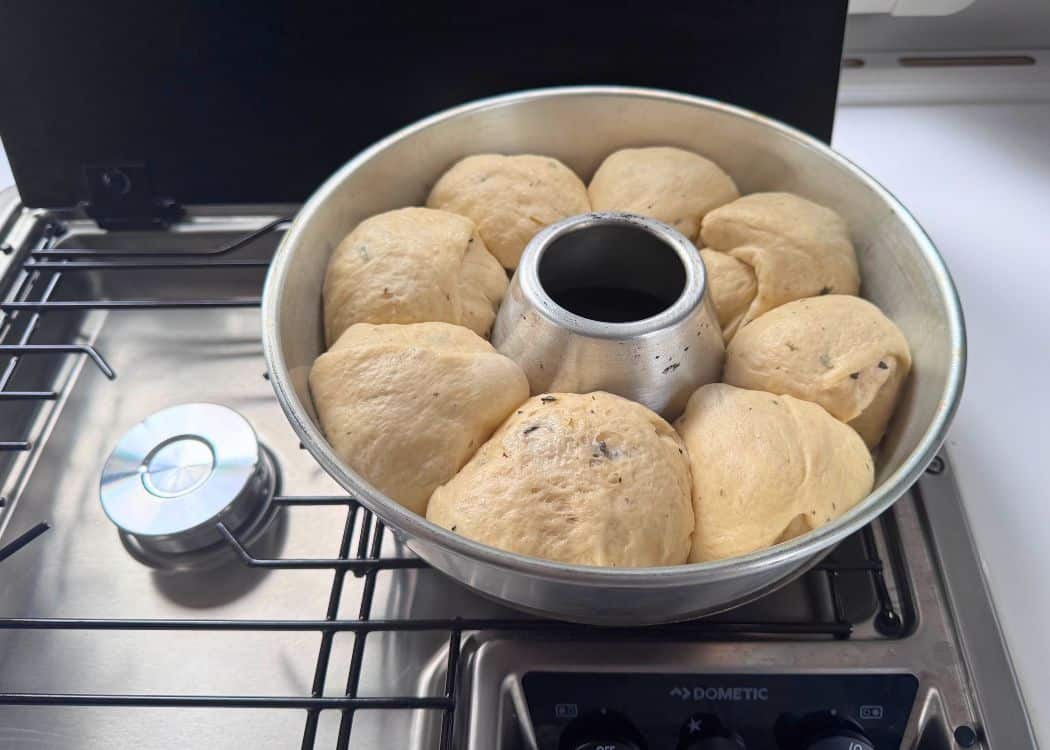
Punch down dough, divide into 6–8 balls, and place in the Omnia baking pan.
Cover and let rise again for 30–45 minutes.
6. Bake in the Omnia Oven
Preheat the Omnia base for 5 minutes over medium heat.
Place the baking pan on top, cover, and keep the burner on high for 1 minute.
Reduce the heat to low and bake 25–30 minutes, rotating halfway through.
7. Finish and serve
Brush warm rolls with melted butter and a little chopped sage.
Sprinkle sea salt on top, if desired.
Brown Butter Sage Dinner Rolls for the Omnia Oven
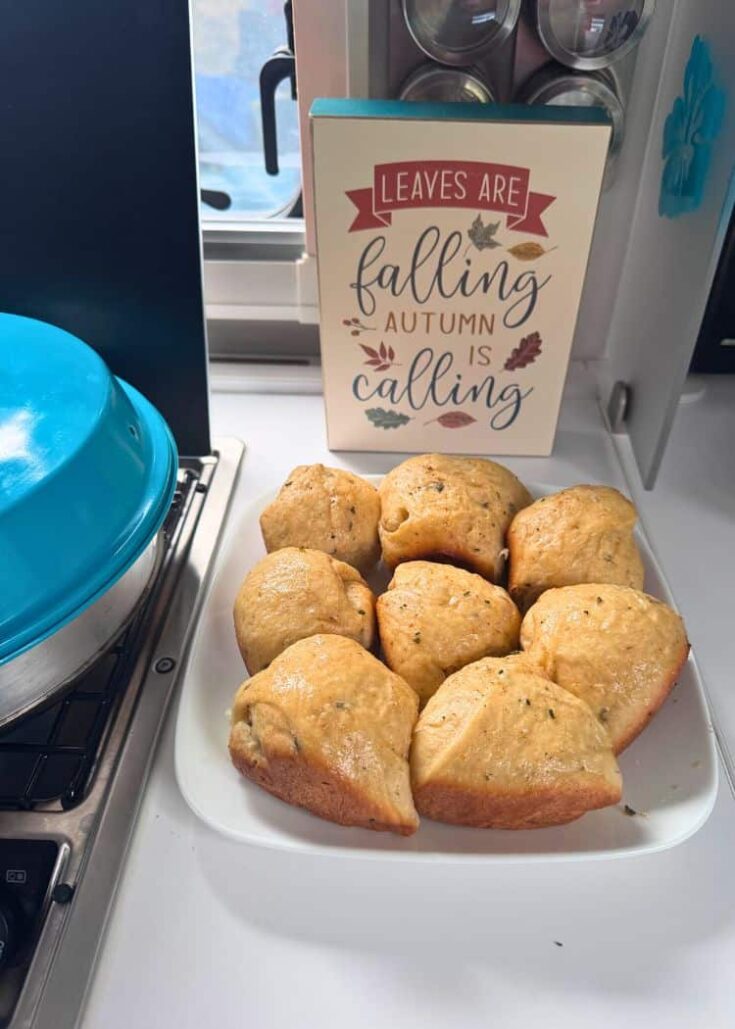
There’s something special about baking fresh bread while camping. The smell fills the trailer and instantly makes it feel like home. These Brown Butter Sage Dinner Rolls are soft, rich, and full of flavour — and yes, they bake beautifully in the Omnia Oven.
Ingredients
- 4 tablespoons unsalted butter
- 3–4 fresh sage leaves (plus extra for brushing)
- 6 tablespoons warm milk (about 110°F / 43°C)
- 1 ¼ teaspoon instant yeast
- 1 ½ tablespoon honey
- ½ large egg, beaten
- ½ teaspoon salt
- 1 teaspoon finely chopped fresh sage
- ½ teaspoon fresh thyme leaves (optional)
- 1½ cups bread flour or all purpose flour (plus a little extra if needed)
- Optional: melted butter and flaky sea salt for topping
Instructions
1. Brown the butter
In a small pan, melt 3 tablespoons of butter over medium heat, stirring the entire time. A light coloured pan is recommended so that you can see the colour of the butter as it's cooking.
When the butter starts to foam, add two or three whole, fresh sage leaves and let them sizzle for 1–2 minutes. After about 5 to 7 minutes, you’ll see brown specks on the bottom and smell a nutty aroma.
When the butter turns light caramel-brown, take it off the heat right away and pour it into a bowl, including the browned bits.
Remove the toasted sage leaves and let the butter cool for about 10 minutes.
2. Activate the yeast
In the bowl of your stand mixer or a medium bowl, whisk together the warm milk, yeast, and one tablespoon of honey. Let it sit for 5–10 minutes until the yeast starts to bloom and the mixture looks foamy.
3. Prepare the dough
Add the remaining honey, egg, 3 tablespoons of the cooled brown butter (save the rest for brushing later), salt, sage, thyme, and 1 cup of bread flour.
Mix on low speed for about 30 seconds, then scrape down the sides of the bowl. Add the rest of the flour and mix on medium speed until the dough comes together and pulls away from the bowl, about 2 minutes.
If it’s too wet to handle, add more flour a tablespoon at a time until it’s soft and slightly sticky but easy to knead with lightly floured hands.
4. Knead the dough
Knead the dough for about 5 minutes, either in the mixer with a dough hook or by hand on a lightly floured surface.
If it feels too sticky, sprinkle on a little flour, just a teaspoon at a time, until it’s soft and slightly tacky but not dry.
When it’s ready, the dough should still feel soft and bounce back slowly when you press it with your finger.
You can also check by stretching a small piece thin enough for light to pass through without tearing. That means it’s been kneaded enough and is ready to rise.
5. First Rise
Lightly grease a large bowl with oil or nonstick spray. Place the dough inside and turn it so all sides are coated.
Cover the bowl with foil, plastic wrap, or a clean towel. Let it rise in a warm spot for about 1½ to 2 hours, or until it has doubled in size.
While camping, I usually just leave mine inside the cupboard or microwave, where it is the least drafty. If all my windows are closed, then leaving the bowl on top of the counter works well too.
The first rise will take about 2 hours.
6. Prepare the Omnia Oven
Spray the Omnia Oven pan with non-stick spray or oil. If you have a silicone liner, you can either spray it or skip this step.
7. Shape the rolls
Once the dough has risen, punch it down to release the air.
Divide it into 6-8 equal pieces. They don’t have to be exact. A bench scraper works really well for cutting the dough.
Shape each piece into a smooth ball and place them in the prepared Omnia pan (or liner inserted into the pan).
8. Second Rise
Cover the shaped rolls with foil, plastic wrap, or a clean towel. Let them rise again until they look puffy, about 45 to 60 minutes.
9. Bake the Rolls
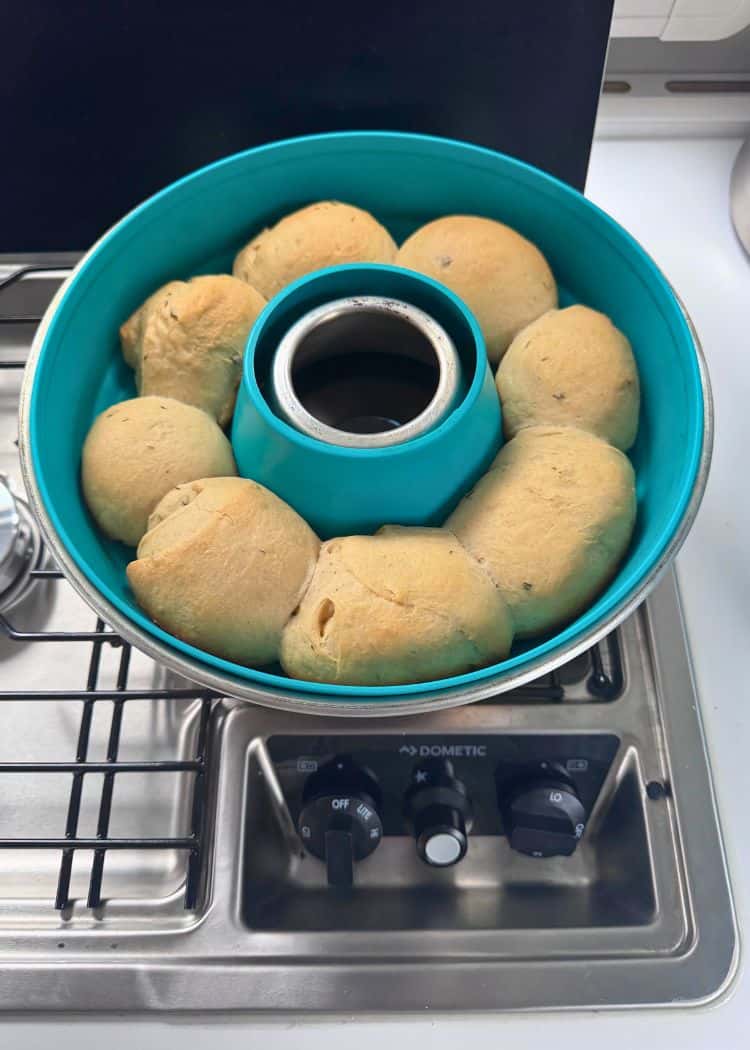
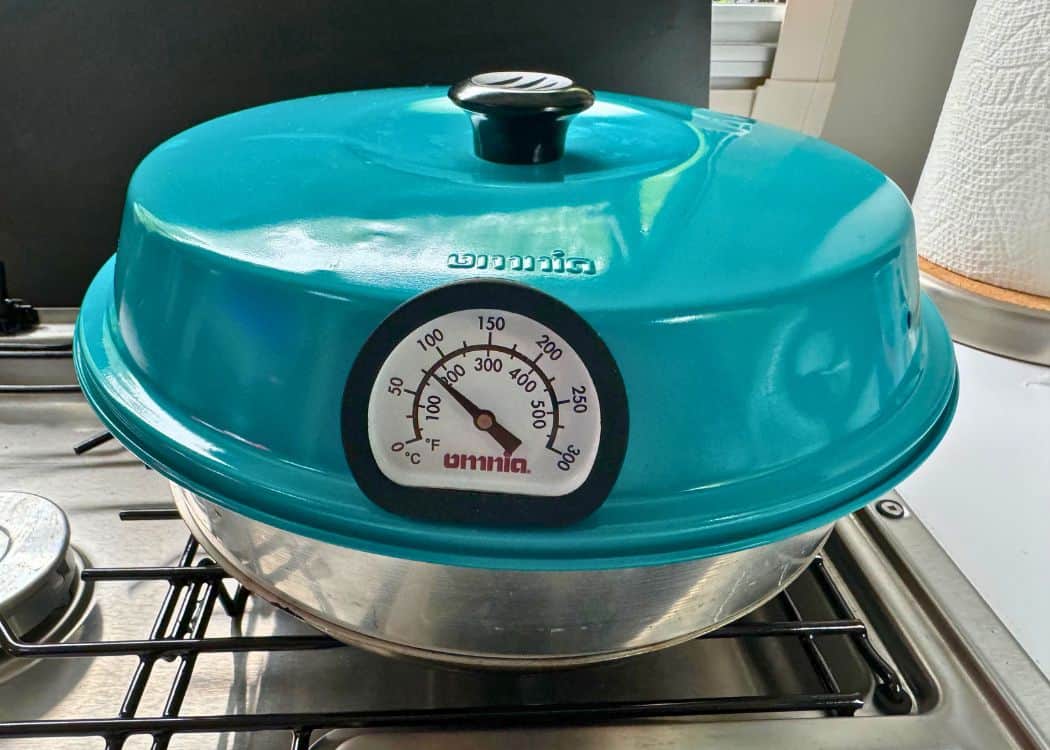
Preheat the Omnia base for 5 minutes over medium heat. Place the baking pan on top, cover, and keep the burner on high for 1 minute.
Reduce the heat to low and bake 25–30 minutes, rotating halfway through. The rolls should be golden brown and make a slight hollow sound when you tap them.
10. Finish the rolls
Take the rolls out of the Omnia Oven.
Melt the remaining brown butter, as it will most likely have firmed up. You can reheat it in the microwave for about 10–20 seconds.
Stir in a pinch of freshly chopped sage, then brush the mixture over the warm rolls. Sprinkle with coarse sea salt if you like.
Let them cool for a few minutes before serving.
Notes
Tips for Omnia Baking
- Use a light-coloured pan to brown the butter (if possible) to better judge the browning process.
- Keep the heat low after the first minute to prevent burning.
- Rotate the Omnia pan halfway through for even baking.
- Let rolls cool for a few minutes before removing from the pan.
Storage
Store leftovers in an airtight container for up to 2 days. To reheat, wrap the buns in foil and warm in the Omnia (low heat) for 5–7 minutes.
Serving Suggestions
These rolls pair perfectly with soup, stew, pasta, roast chicken, or any hearty camp meal. They also make great breakfast rolls the next morning with a little jam or honey.
Recommended Products
As an Amazon Associate and member of other affiliate programs, I earn from qualifying purchases.
Notes From the Road
There are just a few quick tips I want to share from our experience making these Brown Butter Sage Rolls at the campsite.
Final Thoughts
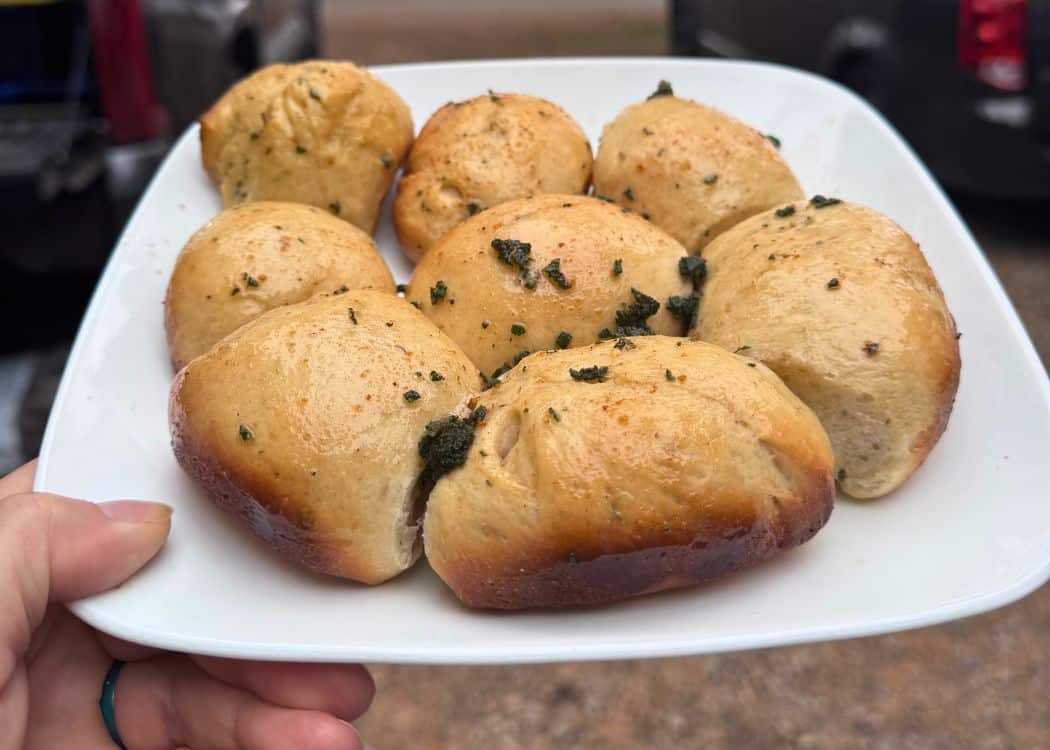
I just love that these rolls are so simple to make yet turn out soft, buttery, and full of flavour.
The brown butter gives them a nutty richness, while the sage adds a subtle savoury touch that feels warm and comforting.
And the fact that they bake perfectly in the Omnia without needing an oven is an added bonus.
They’re simple, comforting, and a nice reminder that homemade bread is possible anywhere — even in a teardrop trailer.
Pin This Post for Later!
Related Posts:
- 10 Campfire S’mores Recipes You’ll Wish You Tried Sooner
- Brown Butter Sage Dinner Rolls (Omnia Oven Recipe for RVs)
- The Best Campsite Pumpkin Pie (for the Omnia Oven)
