
Ultimate RV Arrival Setup Checklist for Teardrop Trailers
You are packed and on your way to the campground. But as a newbie Teardrop owner, are you confident about what to do when you arrive?
John and I weren’t in the beginning! As new RV owners, the learning curve was quite steep.
And many times, there just weren’t enough resources geared towards smaller rigs like our Teardrop.
So we have put together a comprehensive guide on what to do when you arrive at a campground.
From the time that you check in, until that first hot dog hits the flames, we have got you covered!
Ready to learn more? Let’s jump right in!
RV Setup Checklist
You are all excited for your first campground adventure with your new Teardrop. You arrive at the campground… but now what?
🚨 IMPORTANT TO REMEMBER – Every RV is different. This is a general guide geared towards Teardrop trailers. Your rig may be slightly different and may require more or less steps.
Arrival at the Campground
When you arrive at the campground, head straight to the camp office or gate office to check in. At this time you can:
- Confirm your reservation details.
- Verify that your campsite has all the requested amenities.
- Ask for a map of the campground.
- Get directions to the comfort stations, dump stations, or any other points of interest.
- Inquire about any special events or activities happening during your stay.
- Purchase firewood or ice
- Make a note of any specific departure requirements, as well as check-out time.
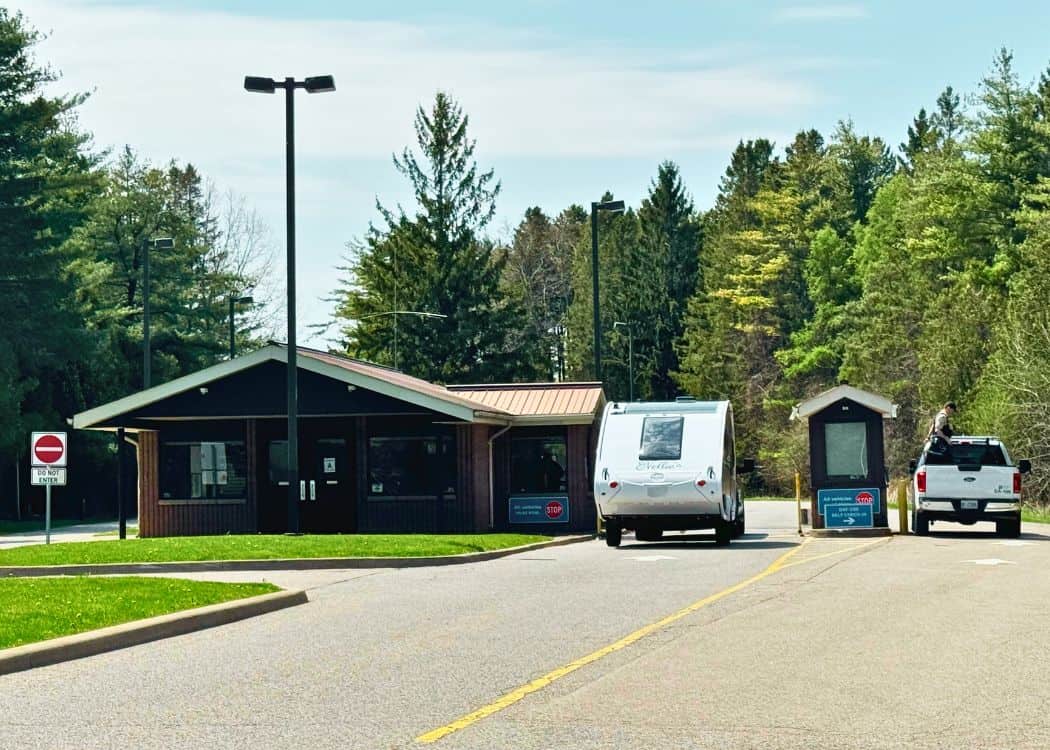
If you are camping at a provincial park, you will need to head to a water-fill station to fill your tank. If your Teardrop does not have water tanks, then you can skip this step and head straight to your campsite.
If you are camping at a private campsite, and have a water hook-up at the site, you can skip this step as well.
Arrival at Your Campsite
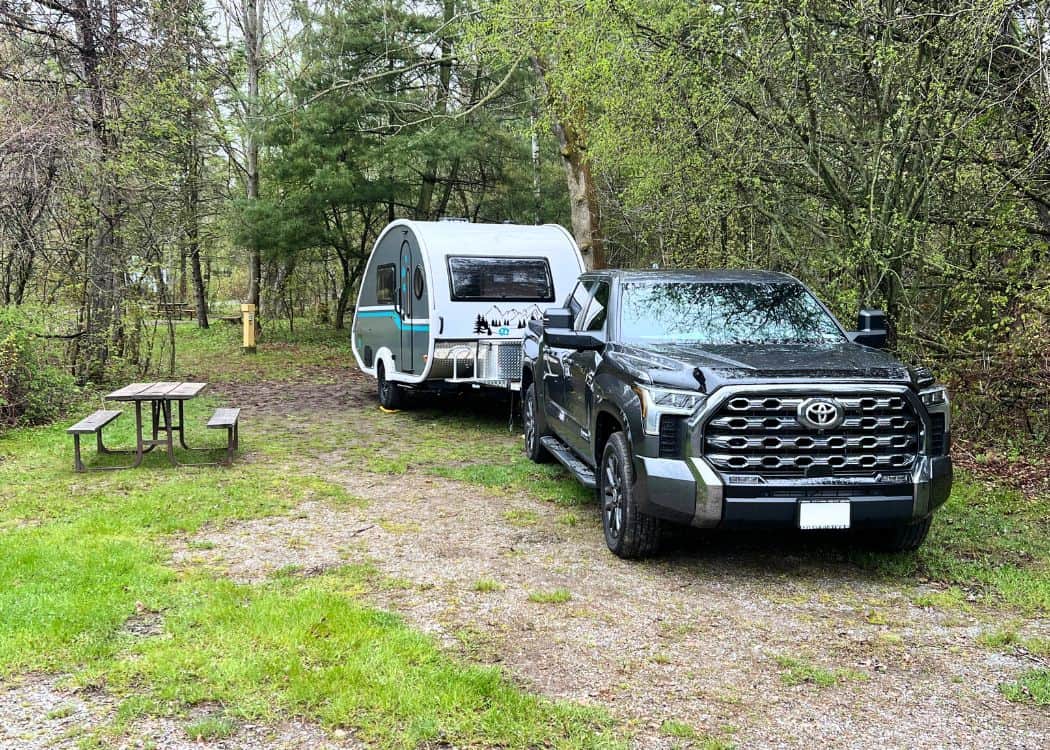
Once you arrive at your campsite, and before you back in your trailer, the first thing you will want to do is check it over:

- Walk around your campsite to check for tree stumps, rocks, debris, low-hanging tree branches, or anything else that may cause damage to your Teardrop.
- Figure out what the most level spot on the campsite is.
- Be sure that you can reach the water and electrical connections once you pull your Teardrop into the site.
Exterior Teardrop Setup
Now that you have figured out the best location for your Teardrop, it’s time to back in the trailer:

- Back or pull into the spot that you selected (take your time!)
- Level your Teardrop side to side using levelling blocks.
- Use wheel chocks to secure your tires front and back.
- Partially lower tongue jack.
- Mount the front wheel to the jack. Install the wheel pin.
- Lower the tongue jack until the wheel engages with the ground.
- Chock the tongue jack wheel.
- Disconnect your trailer from your tow vehicle, including power cords, safety chains, and breakaway cables.
- Level your Teardrop front to back.
- Lower your stabilizing jacks, placing support blocks underneath.
- Before plugging in, turn off your battery to protect against electrical surges.
- Then connect your Teardrop to shore power, using a surge protector.
- Turn the battery back on.
- Attach your water lines, using a water pressure regulator to prevent damage to your plumbing system.
- Set your Nautilus to the correct setting (city water or dry camping).
- Connect your sewer hose if a sewer connection is available.
- Open the grey water tank valve but leave the black water tank valve closed to avoid clogs.
- Turn on your propane.
- Install hitch lock and trailer tire boot lock.
- Set up your campsite with items like an outdoor rug, table and chairs, string lights, and any other accessories to make your space comfortable.
Get a FREE RV Setup Checklist PDF Printable Here!
I always tell John to do things in the same order all the time. This way you will develop ‘muscle memory’ and will have less of a chance of forgetting something.
This is where our checklist will come in handy. Our best advice is to follow the list until you get into a routine of your own.
Interior Teardrop Setup
It’s not quite time to relax yet! Now that the outside of your Teardrop is all set up, you still need to get the inside ready to go for your camping adventure:

- Turn on your Alde system and make sure that your settings are correct (including those for the water heater).
- Depending on what time of the year you are camping, you may want to turn on your A/C or heat.
- Open your roof vents for some air circulation.
- Turn on your water pump.
- Test your water lines by running water in both your kitchen and bathroom to check that your connections are hooked up correctly.
- Add tank treatment to your grey and black tanks if you are not hooked up to city water or sewer.
- Configure your bed or dinette.
- Unpack any secured items.
RV Newbie Setup Checklist – FAQs
Look for a flat area or use a small bubble level to check the ground before parking.
Use levelling blocks or ramps under the tires to adjust the height and make the trailer level.
Inspect the outlet for damage and use a surge protector to prevent electrical issues.
Use heavy-duty, outdoor-rated extension cords designed for RVs to handle the electrical load safely.
On average, it takes about 30 minutes to an hour to set up your Teardrop at a campsite.

RV Setup Checklist – Final Thoughts
While setting up your Teardrop at a campsite may seem a little daunting for newbies, we promise you, it does get easier with practice.
Soon, you won’t even have to think twice about the process!
Until then just follow the steps included in our RV setup checklist, and you can ensure a smooth start to your camping adventure.
Don’t forget to download the handy printable. You can check tasks off as you complete them for a worry-free arrival.
Pin This Post for Later!

Related Posts:
- Common RV Terminology and Slang for Newbie Teardrop Owners
- 150+ Fun and Unique Camper Names for Your Teardrop Trailer or RV
- 10 Top Reasons Why Teardrop Trailer Camping is Better Than a Tent
- What is a Teardrop Trailer and Are They Right for You?
- Does a Teardrop Trailer with a Bathroom Really Exist?
- What is Boondocking? A Complete Guide for Beginners
- What License is Needed to Drive an RV in Ontario
- Teardrop Trailer Campground Etiquette That You Need to Know
- Top 10 Things You Really Should Know BEFORE Buying A Teardrop Trailer
- Camping During a Fire Ban: What You Need to Know
- Complete Guide to Halloween Events at Ontario Parks
- The nuCamp Haven 220 – Is This Our Next Trailer?
- Is Winter Camping in a Teardrop Trailer Possible?
- The Best 5 Dog Beaches in Ontario Provincial Parks
- 10 Practical Ways to Use Your Teardrop Trailer
- What We Actually Eat on Camping Trips (No Complicated Recipes)
- The Camping Pantry Staples We Never Leave Home Without
- What the New Ontario Parks Alcohol Rules Mean for Campers
