
How to Level a Travel Trailer & Why It’s So Important
Are you a new Teardrop owner? Are you looking for information about how to level your trailer? Then you have come to the right place!
As first-time trailer owners, we struggled to find good information on how to correctly level our new Teardrop trailer.
The information we found for larger campers, sometimes felt too complicated and didn’t always apply to our smaller trailer.
John and I have put together a simple guide on not just how to level your trailer, but why it is so important.
Why Levelling Your Teardrop Trailer Is Important
Before we jump into the technicalities of levelling your Teardrop trailer, I thought it might be prudent to discuss WHY it’s so important.
Comfort
For one thing, levelling your teardrop trailer makes your trip more comfortable. Here’s why:
➡️ Better Sleep
When your Teardrop trailer is level, your bed is level. And when your bed is level, you sleep better because you won’t roll to one side during the night.
It may sound funny but try to get a good night’s rest when you are constantly sliding off the bed, and you will quickly understand.

This happened to me one night when we were car camping in Algonquin. We didn’t realize how much of a slope the car was parked on, so I kept sliding into the hatch door all night.
I woke up pretty grumpy which didn’t bode well for ANYONE!
➡️ Easier to Move Around
A level trailer makes it easier to move around inside.
You won’t feel off-balance or risk tripping. Cooking, getting dressed, and other activities are more comfortable and safer when the trailer is stable.

Not to mention, your dessert won’t go sliding across the table and into the hands of a hungry teenager (true story)!
Appliance Function
Did you know that levelling your teardrop trailer also helps your appliances work properly?
➡️ Fridge Efficiency
Many trailer fridges work best when the trailer is level. If the Teardrop isn’t level, the fridge might not cool properly, leading to spoiled food and drinks.
And just on the practical side of things, you really don’t need all your food items to come sliding out of the fridge the minute you open the door either!
➡️ Proper Sink Drainage
I don’t know about you, but I hate when water pools in the sink.
And if your Teardrop is equipped with a wet bath, it’s also the last thing that you want while taking a shower.
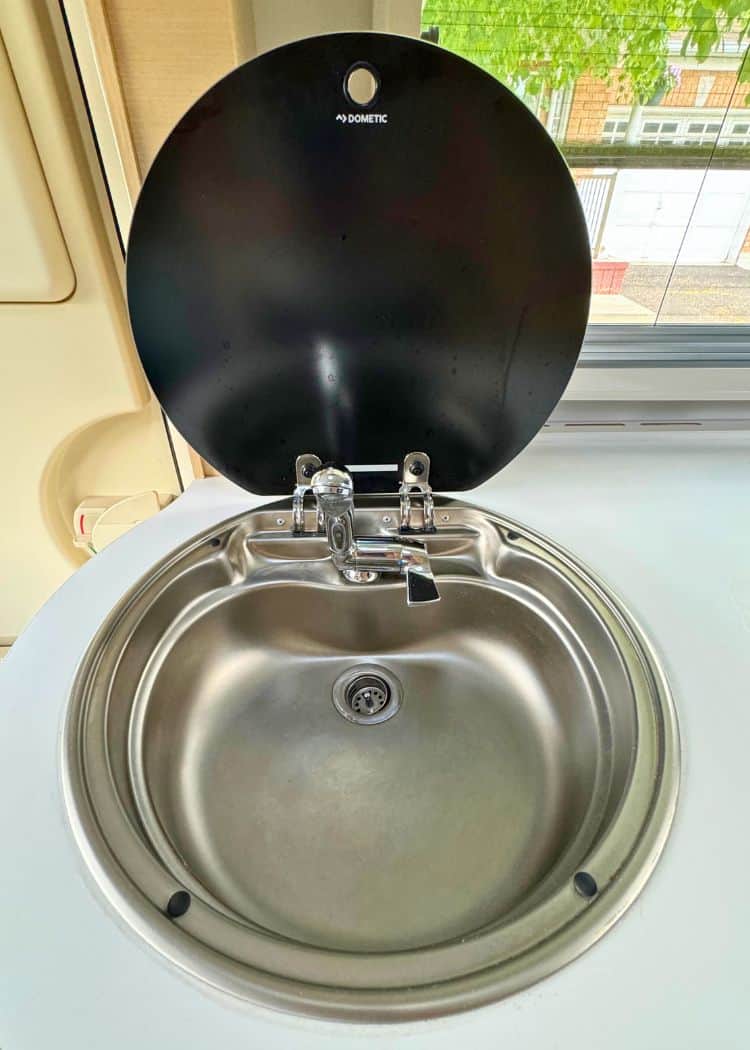
A level trailer ensures that the sink drains correctly.
When your Teardrop is not level, water can either pool in the sink or drain slowly, which can be a hassle to deal with.
Safety
Most importantly, having a level Teardrop trailer is key for safety.
➡️ Prevents Shifting
While there really isn’t any foolproof way to keep things from shifting in a trailer while you are moving, it shouldn’t be that way when you are parked.
If your Teardrop is level, it will also be stable. This reduces the risk of items inside shifting or sliding around.
➡️ Stability During Stay
If you have ever gotten into your trailer without the stabilizers down (like to use the bathroom or grab a snack while on the road), then you know just how much it rocks.
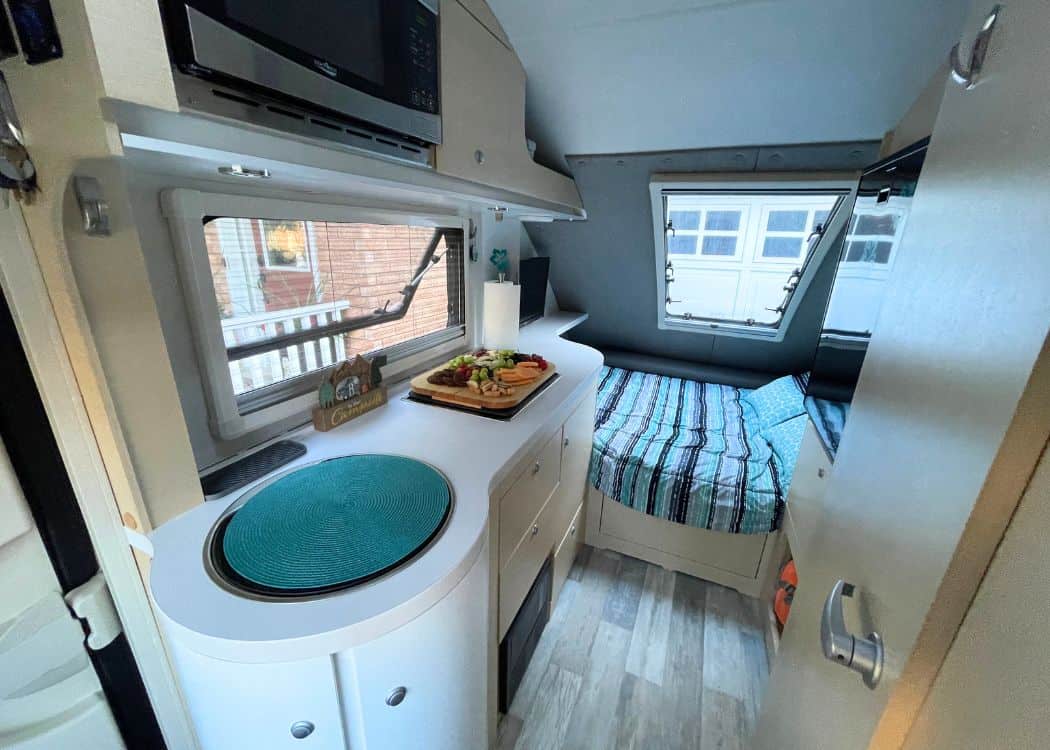
You almost need your sea legs to move around!
However, when your trailer is level, it won’t rock or tilt. This provides you with a safer and more secure environment during your camping trip.
Tools You’ll Need to Level Your Teardrop
Ok. So now that you know why it is so important to level your Teardrop, let’s discuss the tools that you will need to make it happen.
There are only four things that you will need to get your Teardrop level:
Levelling Blocks
Levelling blocks are sturdy platforms placed under your trailer’s tires to help adjust the height and achieve a level position. We use ones that look and function like LEGO blocks (more on this later).

Bubble Level
A bubble level is a small tool with a liquid-filled tube and a bubble inside. It is used to check if the trailer is level from side to side and front to back.

Chocks
Chocks are wedges placed under the trailer’s wheels to prevent it from rolling while you level it.

Tongue Jack
A tongue jack is a crank-operated device at the front of the trailer that raises or lowers the trailer’s hitch. It helps to level your Teardrop from front to back.

Steps to Level Your Teardrop Trailer
Now that we have covered a little background into the why we level a trailer, let’s jump right into the how:
1. Find a Suitable Spot
When you arrive at your campground, and before you start backing in, get out and take a quick peek around.
Try to figure out where the flattest and most level spot on the site is.
One of the advantages of having a small trailer is the ability to fit in places the larger rigs can’t.

That opens up your options on where to best position your trailer on your site.
Look for a nice flat area without a slope. If the site is sloped, find the area with the least amount of slope.
Be sure to clear the area of any debris like large rocks, small tree branches, or sticks.
2. Side-to-Side Levelling
Next, position your trailer in the desired spot.
Before you unhitch, check to see how level the trailer is in that particular spot.
You can do this by placing the bubble level on the trailer floor or on the tongue.
Because the trailer is still connected, you can move it around to try to find the optimal spot.
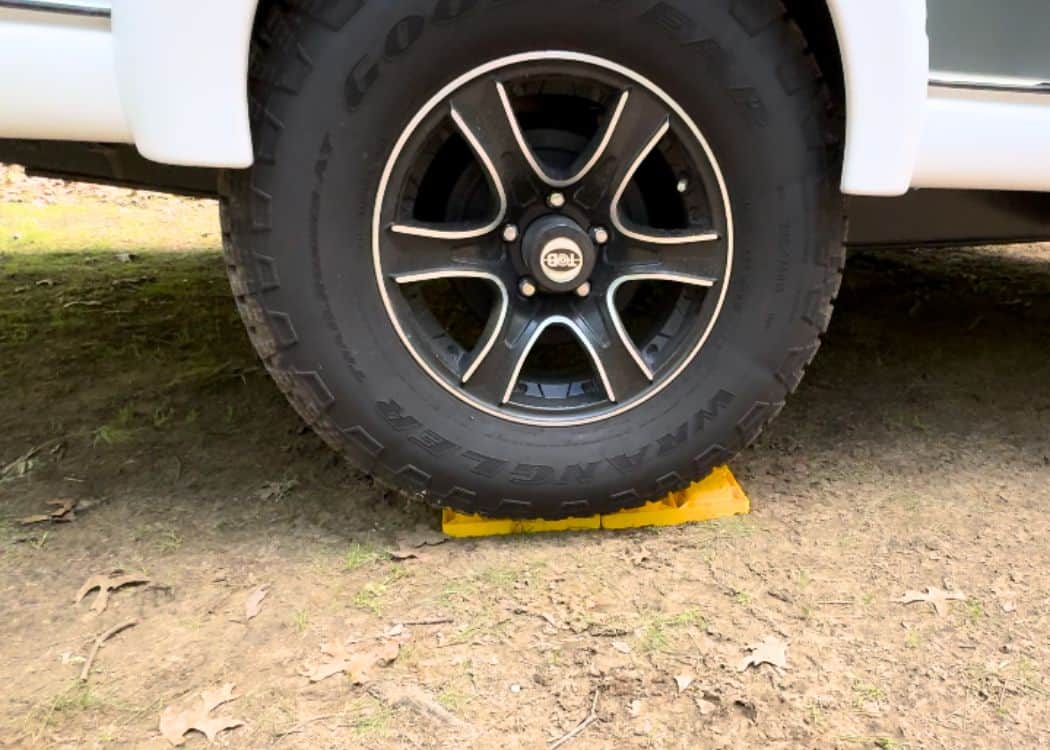
If the site is sloped, you will need to use your Levelling Blocks. We usually start with a single layer of the LEGO-type blocks, and build up as necessary.
Just lay the blocks on the ground just behind (or in front of) the trailer tire that needs to be lifted, and move the Teardrop onto the blocks.
Check to see if you are level from side to side.
If not, add another layer of blocks.
3. Front-to-Back Levelling
Lastly, you are going to level your trailer from front to back.
To do this, you are going to first chock your Teardrop’s wheels. Then, unhitch from your tow vehicle.

Use the Tongue Jack to adjust the height of your trailer. Place your Bubble Level on the tongue or inside on the trailer floor and ensure that it is level.
Adjust as needed using the Tongue jack.
Final Steps to Levelling Your Teardrop Trailer
You are now ready to put down the stabilizers on your trailer.
If you are on a very steep slope, you may find that your stabilizers or tongue jack may not reach the ground.
In this case, you will need more of the levelling blocks to put under the stabilizers and/or tongue jack.

Your last step should be to double-check that you are still level. You can use the stabilizers for fine-tuning ONLY.
DO NOT attempt to fully level your trailer using only the stabilizer jacks on a sloped site. The weight on one side may damage them or cause them to snap.
Common Mistakes to Avoid
While levelling a trailer is not difficult, it can take a little practice for newbies to get the hang of it.
We can pretty much guarantee that after your first camping season is done, you will be a pro!
Until then, here are a few common mistakes to avoid:

Not Using a Level
Guessing if your trailer is level just won’t work.
Always use a bubble level to ensure accuracy. If you just ‘eyeball it’, you might think your trailer is level, but even small imbalances can cause issues.
Ignoring Uneven Ground
Setting up on uneven ground can lead to instability.
Always choose the flattest spot available. Ignoring this step can make levelling much harder and can result in a wobbly trailer.
Our second trip out was a disaster when it came to levelling the trailer. We didn’t bother to scope out the campsite first and ended up having to re-hitch the trailer to find a more suitable spot on the site.
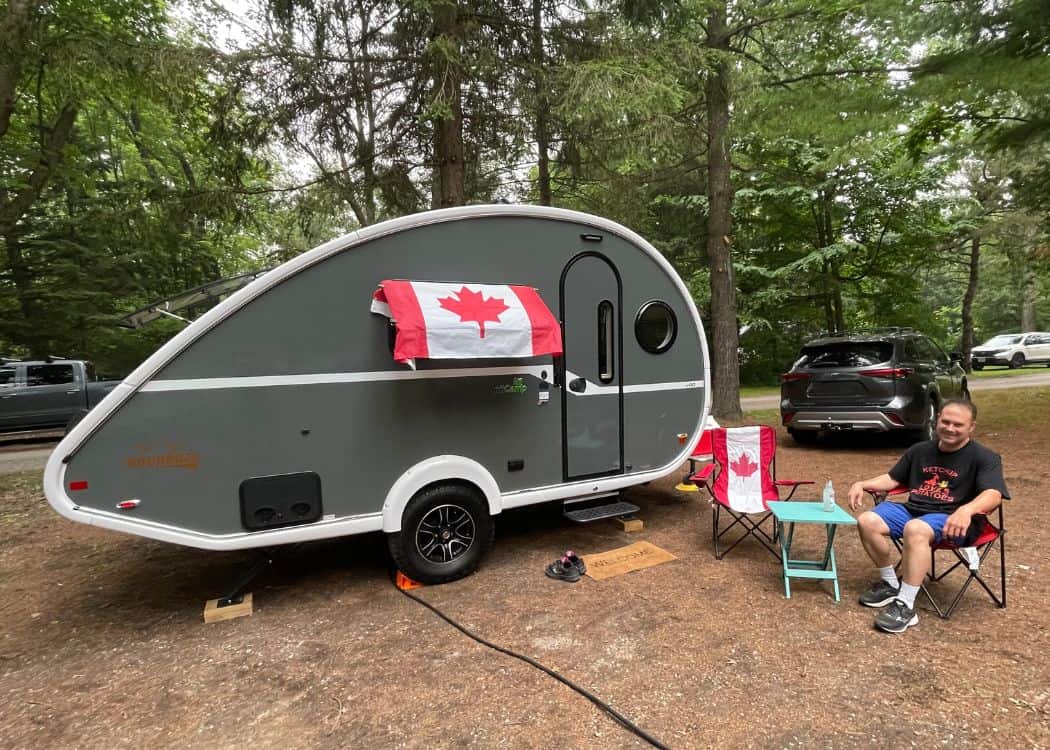
It was a total waste of time, that could have been avoided by just taking doing things properly.
Rushing the Process
Levelling your trailer takes time and patience.
If you rush, you might miss important steps or make mistakes, just like in our example above.
Taking your time ensures that you do things right the first time, so that your trailer is properly balanced.
In turn, this provides a stable and comfortable environment for your trip.
Tips for Easier Levelling
Here are just a few last tips for making the process of levelling your trailer a little easier:
Practice at Home
Before heading out on your first trip, practice levelling your trailer at home.
This helps you get familiar with the process and identify any tools or techniques you might need.

It also builds your confidence, so you can set up quickly and efficiently at the campsite.
We did some driveway camping the first few days after picking up our trailer.
We were able to troubleshoot (thanks to good Wi-Fi and YouTube), and get comfortable with our Teardrop while having the security of being at home.
Use an Electronic Level
If using a regular bubble level isn’t easy for you, there are other options for you.
Consider using an electronic level for more precise levelling.
These devices provide digital readings and can be easier to use than a traditional bubble level.
They also help to ensure that your trailer is perfectly level, making your setup process faster and more accurate.
While we have never tried a digital level, if you like them, it would definitely be a good thing to have in your toolkit.
Invest in Good Equipment
Quality levelling blocks and chocks make a big difference.
Invest in sturdy, reliable equipment that can withstand the weight of your trailer and provide stable support.

While the initial cost may be a little higher, good equipment lasts longer and performs better.
In the end, it will help make the levelling process smoother and more secure.
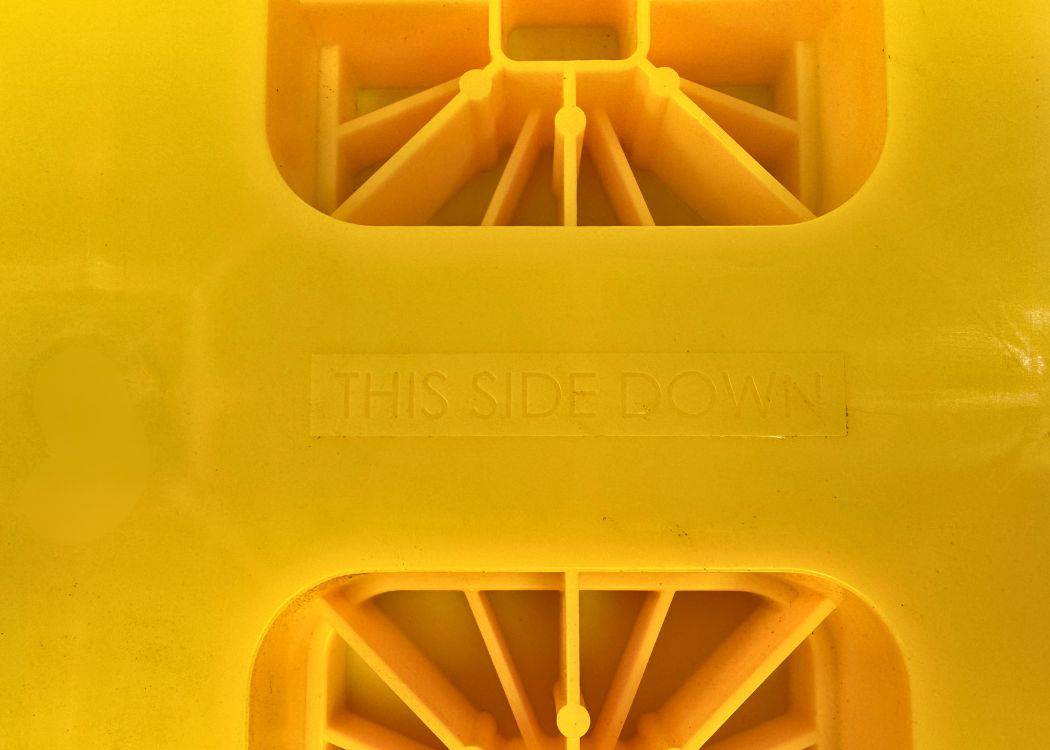
💡 Pro Tip: In case you are wondering, there is a correct way to place your levelling blocks. Think LEGO and what it looks like right side up. Our blocks even tell you right on the brick for a no-brainer! ⬇️
Levelling a Travel Trailer – Final Thoughts
Levelling your teardrop trailer is really important for a comfortable and safe trip.
Hopefully, our post has taught you to take your time, use the right tools, and practice the process.
You’ll quickly get the hang of it, and your camping experience will be much better because of it.
Pin This Post for Later!

Related Posts:
- How to Winterize Your Teardrop Trailer in 10 Easy Steps (With FREE Checklist)
- The Ultimate Guide to Camping with Your Dog
- Best RV Campsite Setup Ideas for Your Teardrop Trailer
- Ultimate RV Departure Checklist for Teardrop Trailers
- Ultimate RV Arrival Setup Checklist for Teardrop Trailers
- How to Level a Travel Trailer & Why It’s So Important
- Top 15 Tips for Towing a Teardrop Trailer with Your Family Car
- How to Dewinterize Your Teardrop Trailer
- How To Use an RV Dump Station for the First Time
- How to Book an Ontario Provincial Park Campsite – An Ultimate Guide
- How to Book a Parks Canada Campsite – An Ultimate Guide
- Camping with A Teardrop Trailer – How to Plan the Perfect Trip
