
How To Use an RV Dump Station for the First Time
If you are brand new to RV life, then heading to the dump station for the first time can feel intimidating.
I remember how nervous John was on our very first outing, especially since the line behind us was quite long.
The reality is that it’s pretty darn easy once you understand the steps. You just need a process, a little patience, and the right gear.
In this guide, we will walk you through what to expect, what to bring, and how to dump your tanks without stress.
By the end, we’ll have you dumping your 💩💩 like a pro! 🤣🤣
Dumping Tanks with a Teardrop Trailer: What Beginners Need To Know
We tow a teardrop trailer, so while this guide applies to all RVs, I know many of you are here because you camp small and compact like we do.
The good news is that the dump station process is almost identical to that of larger RVs.
You connect your hose, empty the black tank first, then the grey tank, and rinse everything when you finish.

The main difference with a teardrop is space.
You are working closer to the hookups, and your tanks are smaller, so you will likely dump a bit more often, but it will take less time.
A clear routine helps. John likes having his gloves, hose, elbow adapter, and wipes together so I can set up quickly and stay organized.
But we will get into all those details below.
What Is a Dump Station?
A dump station is a designated place to empty your RV’s black and grey water tanks.
This is where you connect your sewer hose to a ground sewer connection, release your tanks, and wash everything down with fresh water.
You will find dump stations at campgrounds, provincial parks, national parks, some gas stations, travel plazas, and RV service locations.

If you are staying at a campground, then using the trailer dump is included in the cost.
For those who like to boondock, you will have to pay to use a dump station in a park or other location.
Dumping tanks is a normal part of RV travel. Every RV owner does it. And once you have done it a few times, it becomes part of the routine.
What Tanks Are You Dumping?
When visiting a dump station, you will be emptying BOTH your black and grey tanks (unless you have a cassette toilet, but we will discuss that later).
Just a quick refresher:
- Black tank holds waste from the toilet
- Grey tank holds water from your sinks and shower
Most RVs dump both tanks through the same outlet, but you release them one at a time.
Always dump black first, then grey. The grey water helps flush out the hose.
What You Need Before You Arrive
There are a few pieces of equipment that you will need to dump your trailer tanks.
Make sure you have them before you arrive at the trailer dump, so that you are not needlessly holding up the line.
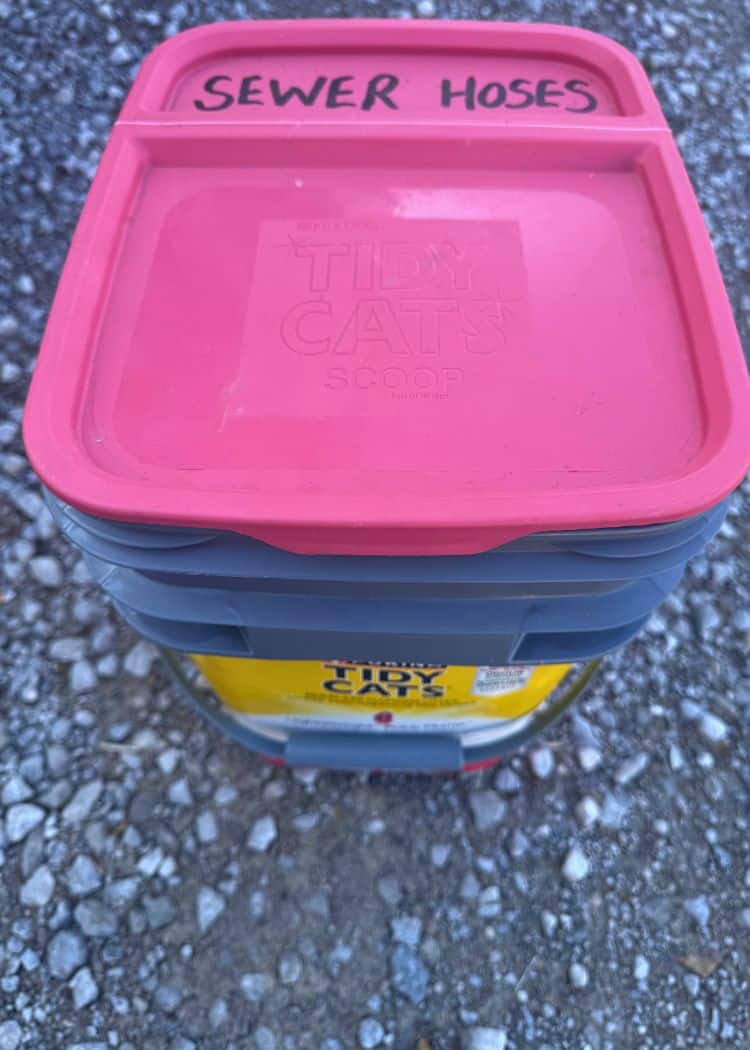
It helps to store everything in one container, or at least in the same place.
Required Items

Helpful Extras

We keep all the required items in one plastic bin. That way, everything is ready to go and stays separate from other gear.
Arriving at the Dump Station
Before you arrive at the dump station, you need to know which side of the RV your sewer outlet is on.
This will affect which dump station to use, or which way to approach if it is only a single station.
Most RVs have them on the driver’s side, but there are some exceptions.
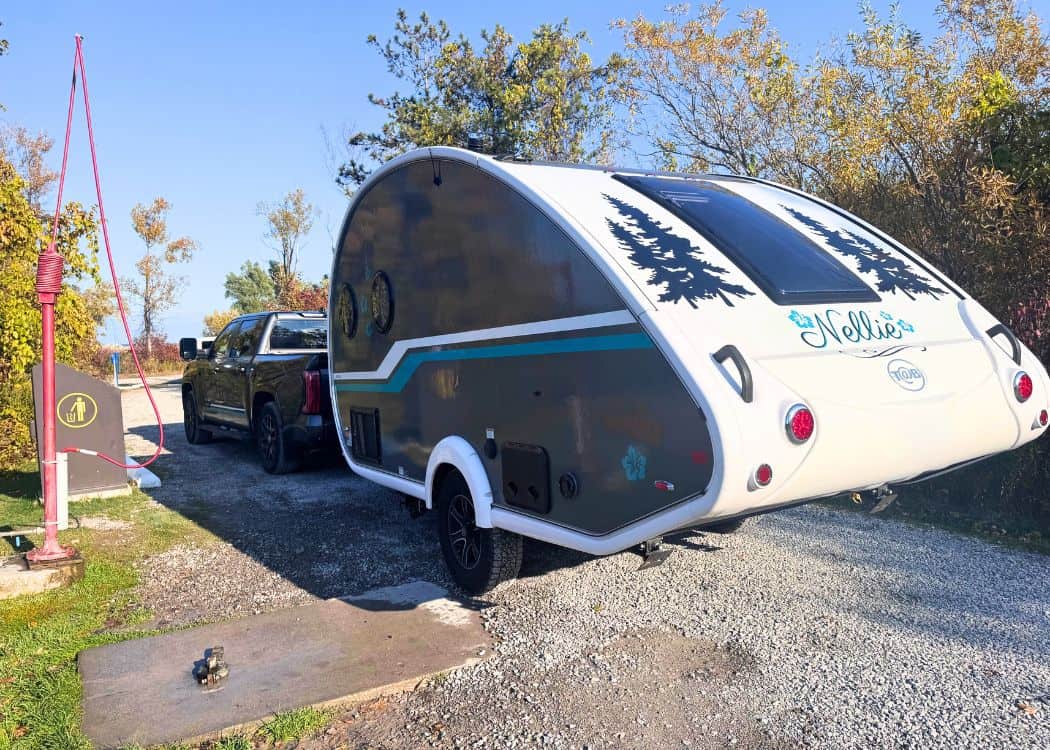
When you arrive at the dump station, pull your trailer up slowly and line your sewer outlet near the drain opening. Take your time. There is no rush.
If you have someone with you, they can help guide you into position the first time.
If someone is ahead of you, wait for your turn. Most RVers work quickly and respect the line.
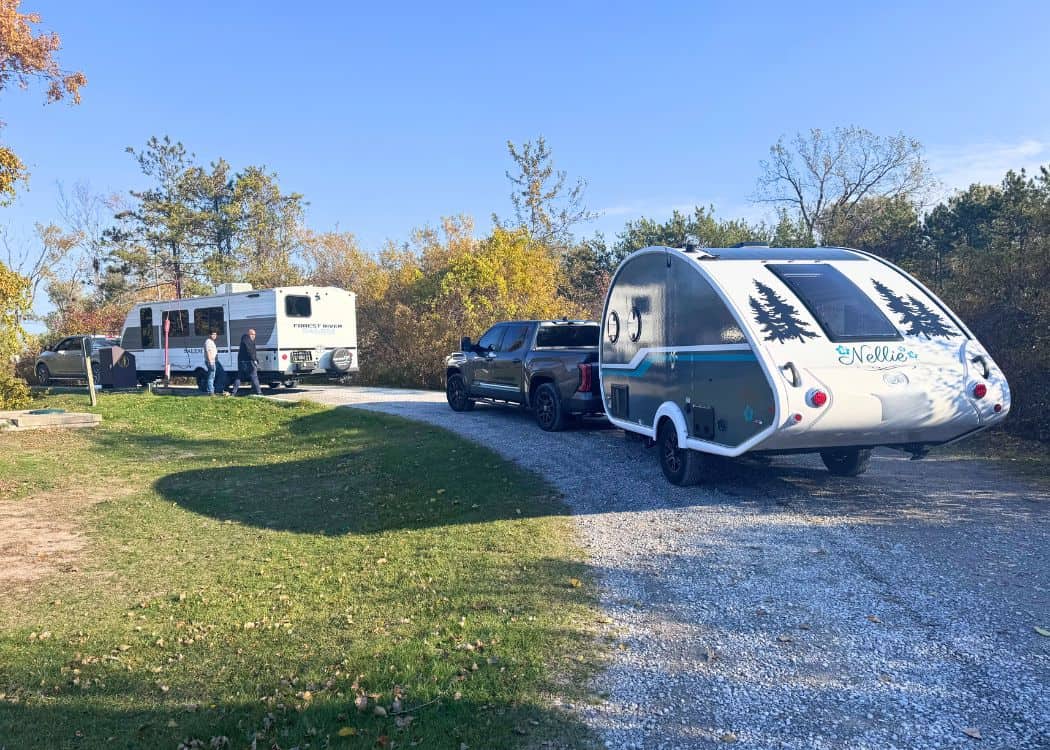
If the line is long, try not to block the roadway.
Once you are parked, you will want to work efficiently. Since this is your first time, we would recommend taking it slow.
Speed comes with practice.
Step-By-Step: How to Dump Your RV Tanks
The following are the steps on how to dump your RV tanks, broken down into easy, beginner-friendly instructions so you can follow along without stress.
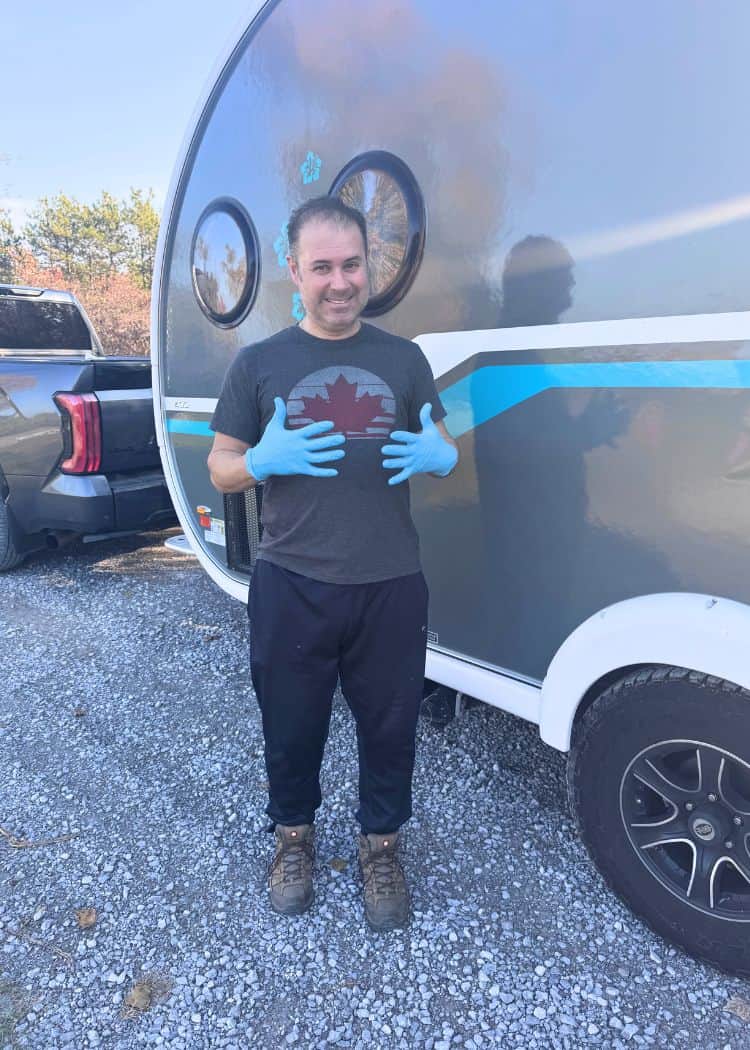
1. Put on Gloves
Disposable gloves help keep things sanitary. You are dealing with 💩💩 after all.
John always wears them.
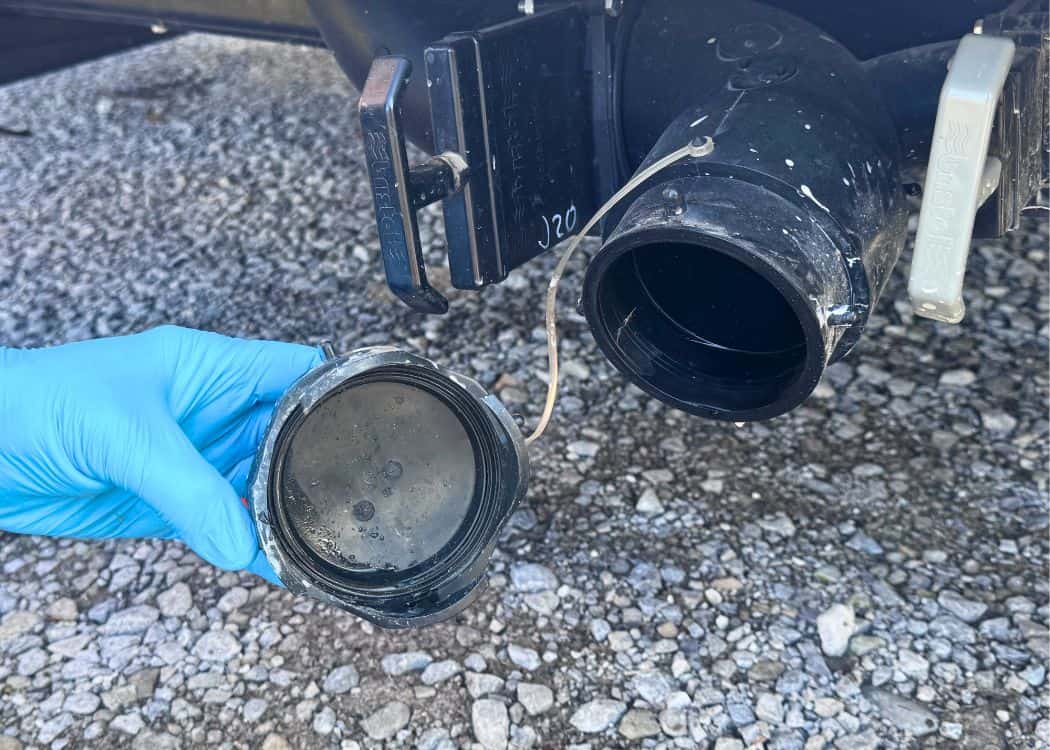
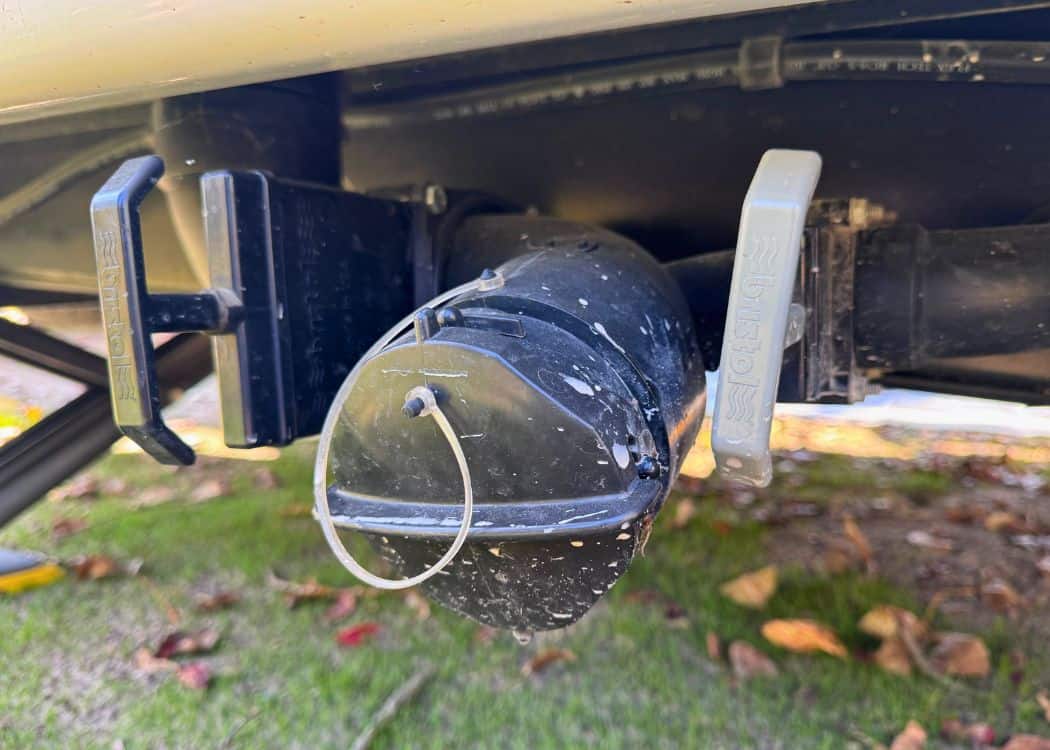
2. Remove the Sewer Cap
Twist off your RV sewer cap. If it isn’t attached, keep track of it. It’s not something that you want to lose
Sometimes a little water comes out. That is normal.
3. Attach Your Sewer Hose to the RV
Connect your hose ( also known as a Stinky Slinky) securely to your RV’s sewer outlet. You will hear or feel it click into place.
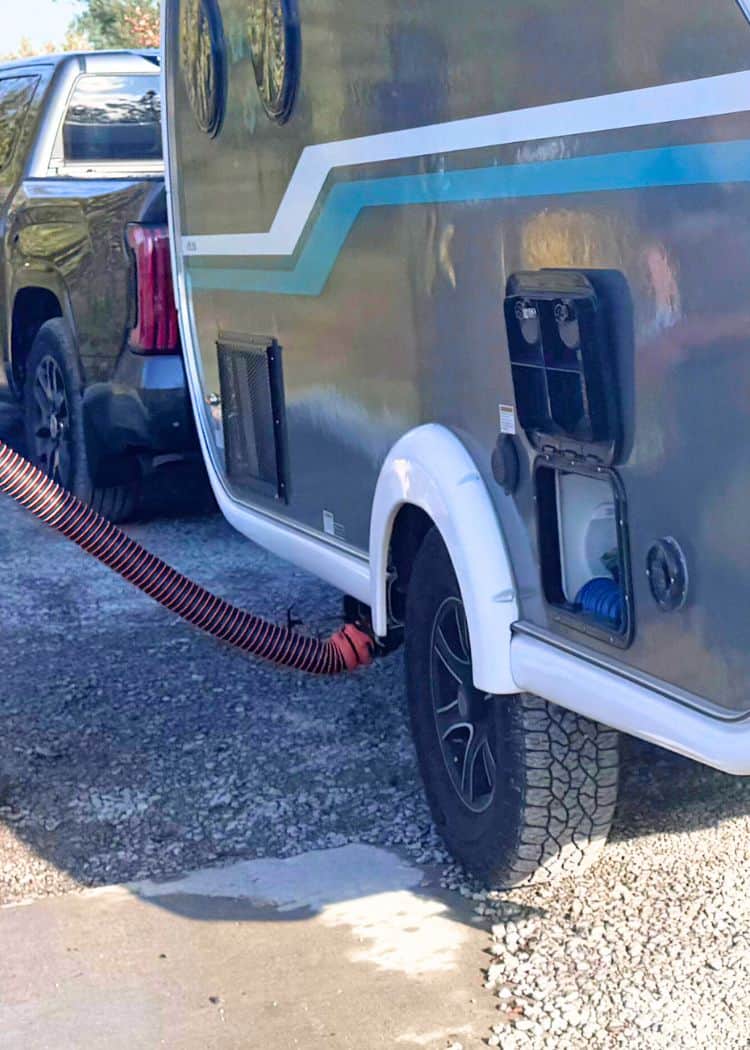
4. Place the Other End Into the Dump Hole
Flip open the lid on the dump hole (if there is one).
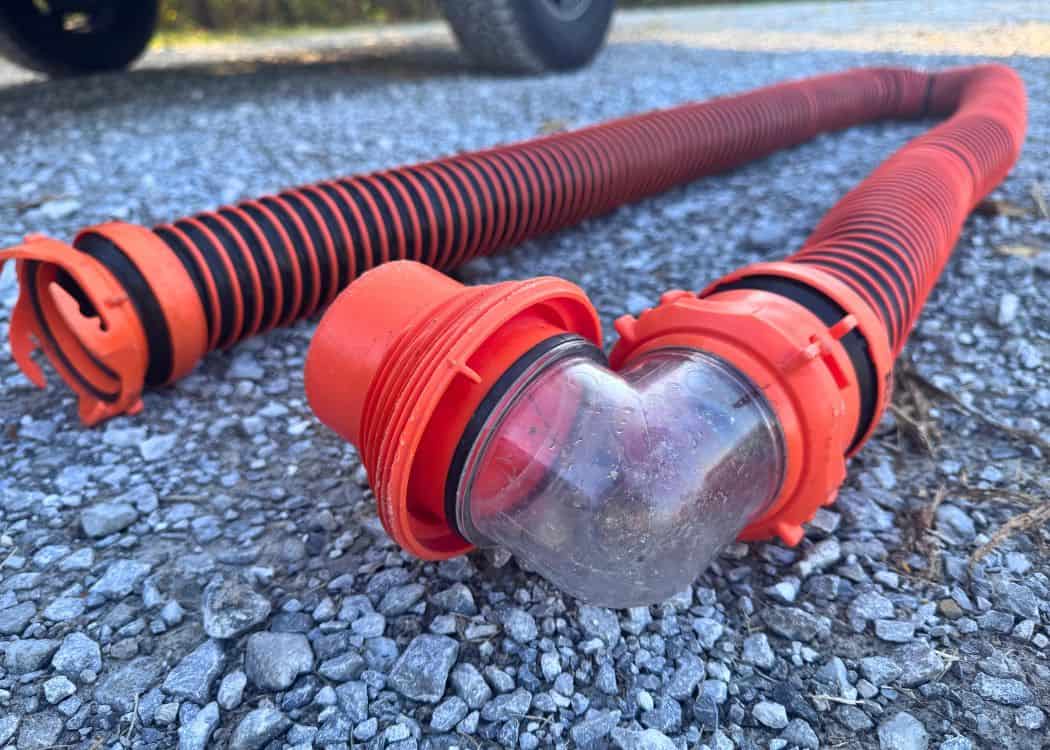
Connect your elbow adapter to your hose.
The elbow adapter helps hold the hose in place and creates a better seal.
It is also clear, so it allows you to see when the tank is empty and when the water runs clear during the rinse stage.
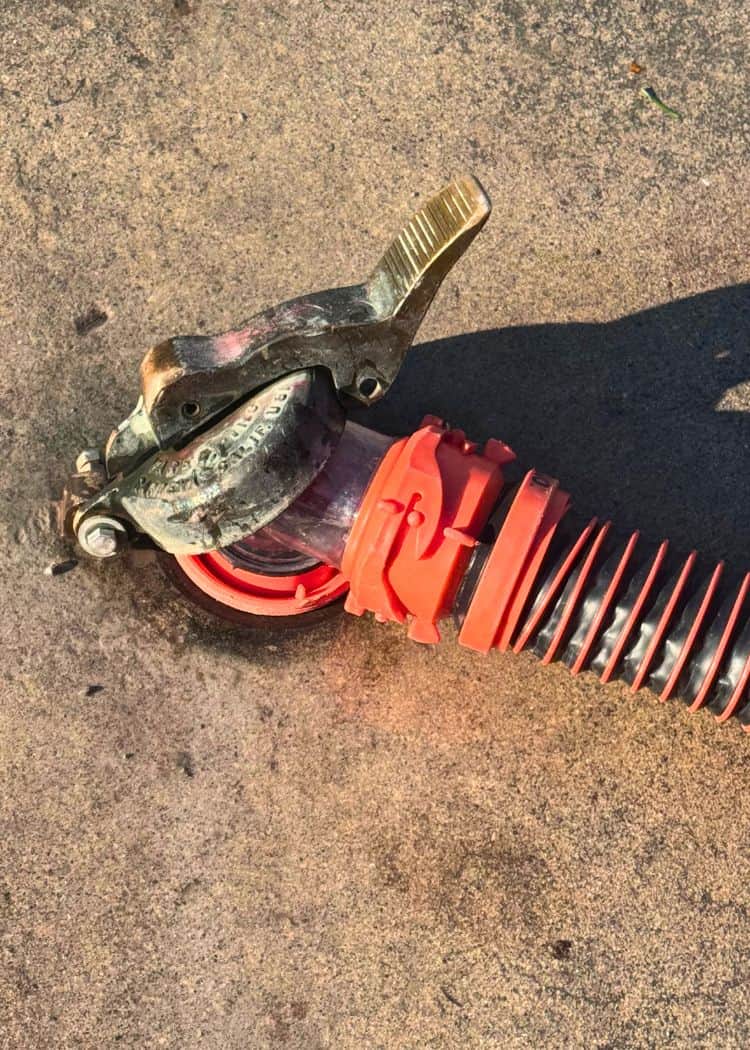
If you don’t have one, connect the hose directly to the dump hole.
Flip the lid of the dump hole against the elbow adapter, or place a rock or something heavy on top.
This is added insurance that the hose does not come loose when you open your drain.
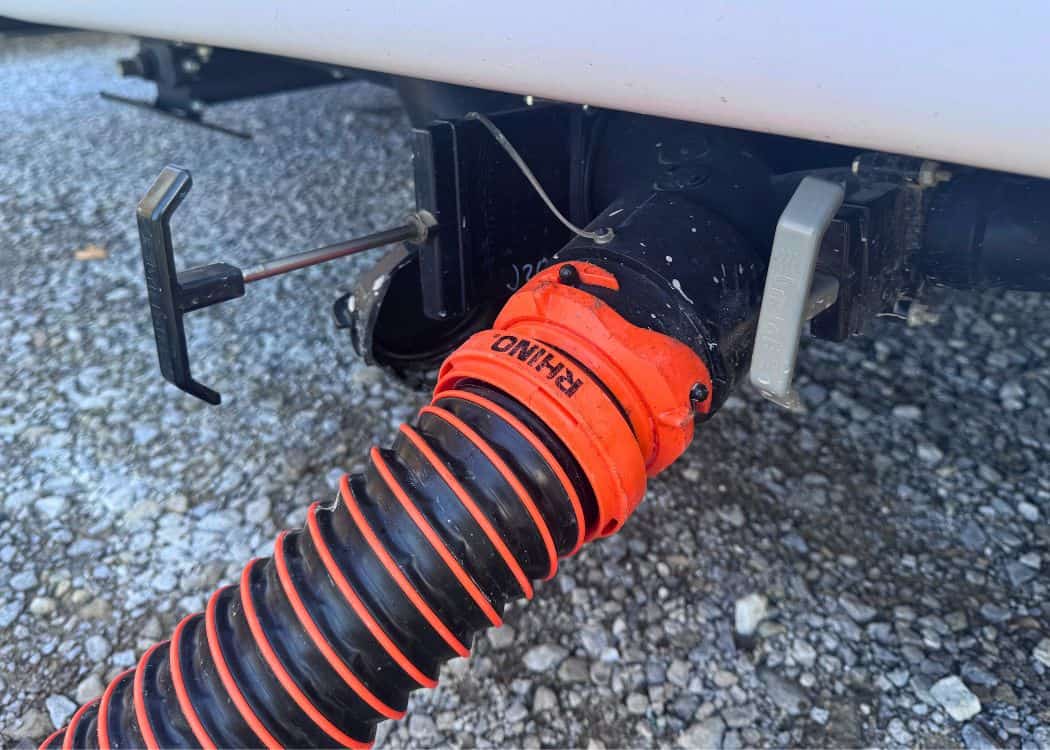
5. Open the Black Tank Valve First
Pull the black tank valve and let it drain completely.
You will hear the flow slow down when it finishes.
6. Rinse the Tank
Most dump stations have a non-potable water hose for rinsing.
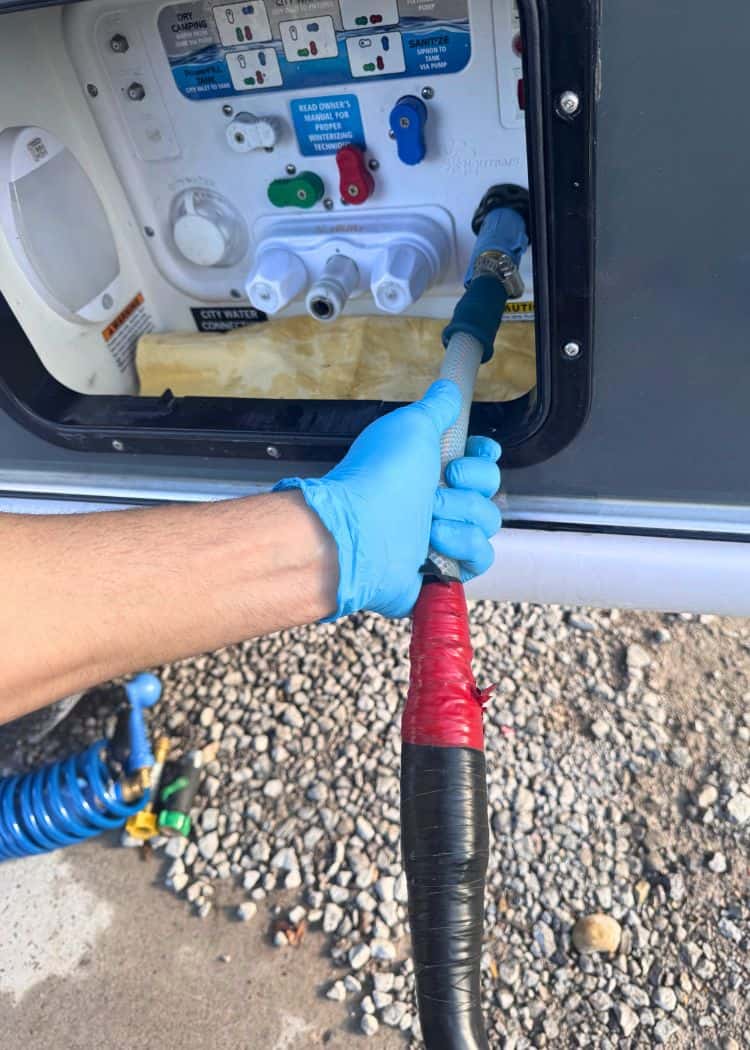
If your RV has a black tank flush, hook it up and run it for a minute or two.
With our teardrop, we have a Nautilus system, which needs to be set to “Sanitize” in order to flush our black tank.

Be sure to use a pressure regulator on the water hose.
If not, run a small amount of water down the toilet inside the RV. This helps move anything stuck.
7. Close the Black Tank Valve
Close the black tank by pushing the lever.
8. Open the Grey Tank Valve
Pull the grey tank lever.

Let your grey tank drain fully. This water helps flush out your sewer hose, so you leave with a cleaner line.
9. Close the Grey Tank Valve
Push the lever to close your grey tank valve.
At this time, it’s a good idea to check to make sure that both valves are closed.
10. Rinse the Hose and Dump Area
Disconnect your hose from the RV and put the sewer cap back on.
Use the rinse hose to wash down the inside of the stinky slinky before you disconnect it from the sewer hole.
After your hose is clean, pack it away.
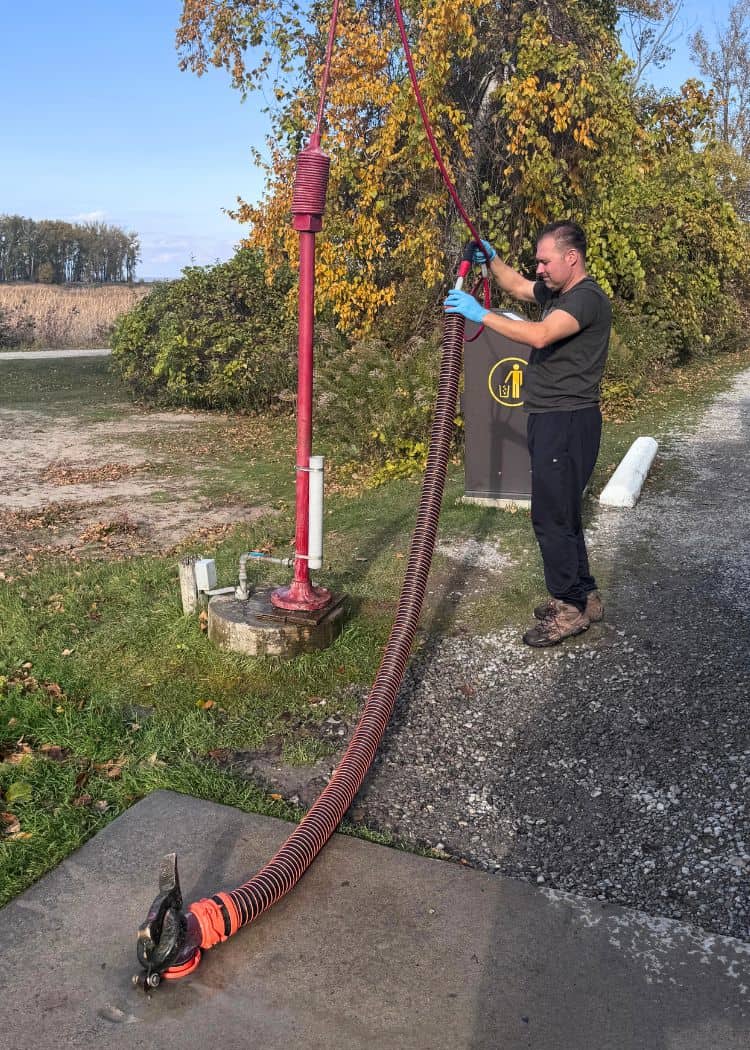
Next, be sure to rinse the concrete pad. Leave the space clean for the next person.
If you have to use your own hose to rinse your stinky slinky, NEVER use your drinking-water hose. Remember, this is not potable water coming from the dump station tap.
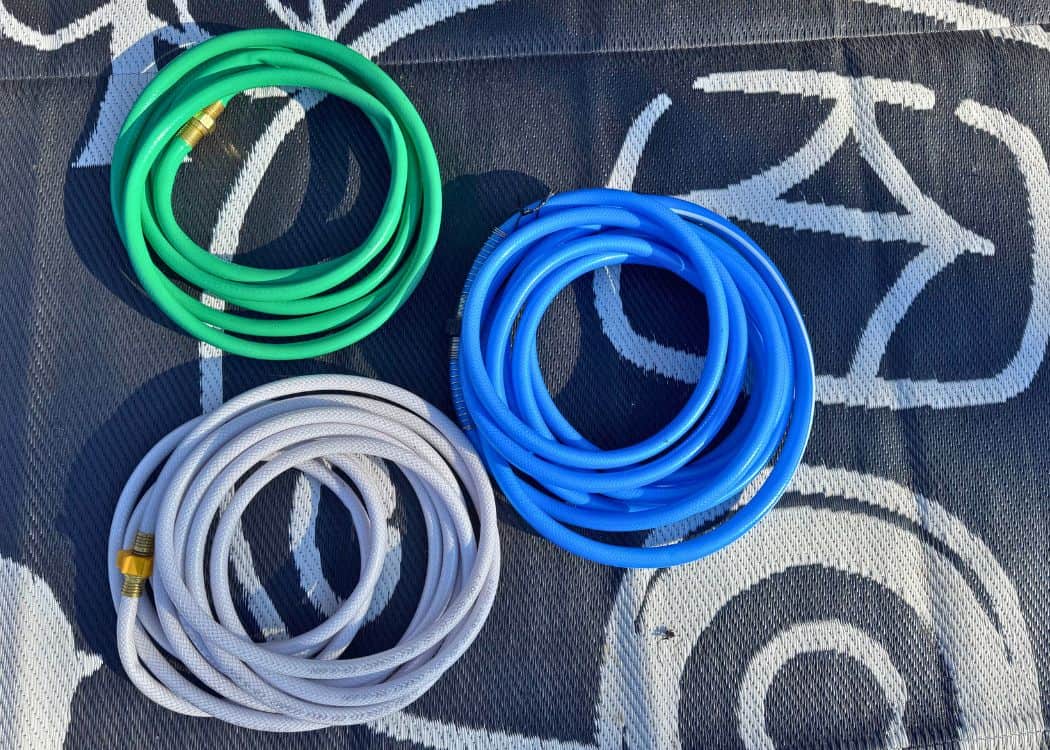
Keep one hose just for freshwater (a blue or white hose), and a green garden hose for use at the dump station.
11. Disconnect Everything and Replace Caps
Do a final check that you have secured the cap on your RV, put your sewer hose away, and that you have closed the lid to the sewer hole on the ground.
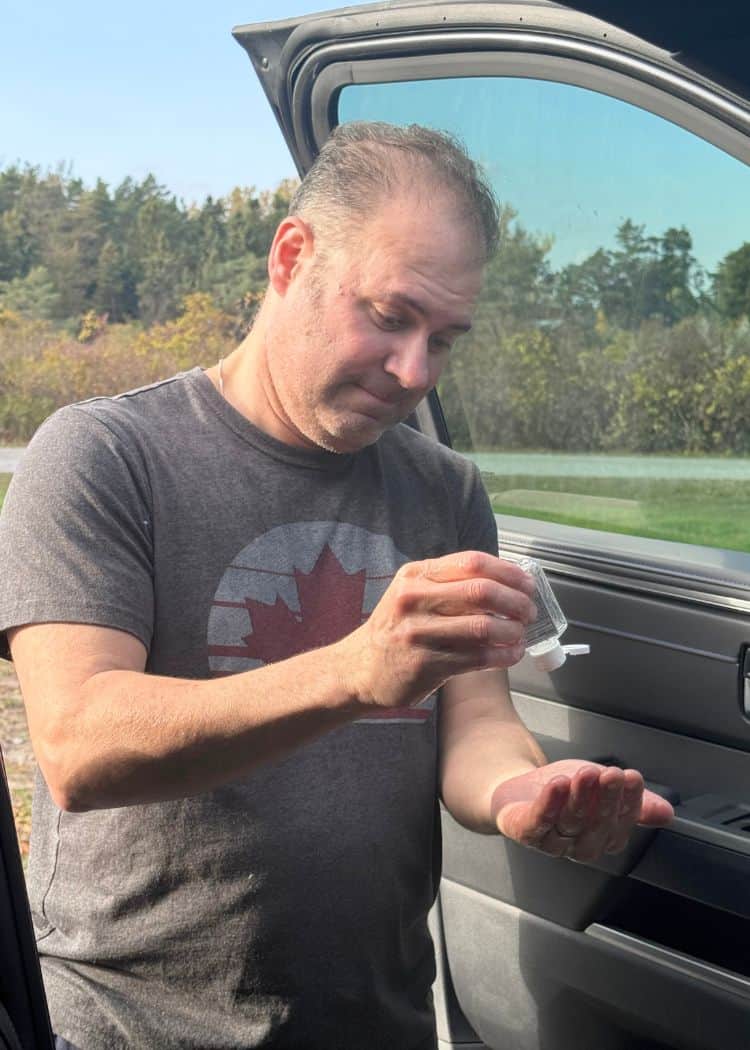
12. Sanitize Your Hands
Dispose of gloves. Use hand sanitizer or wash your hands right after.
13. Open Your Freshwater Drain
The last step is to open your freshwater tank drain.
You don’t need to stick around waiting for the tank to drain. We open our drain and drive away.
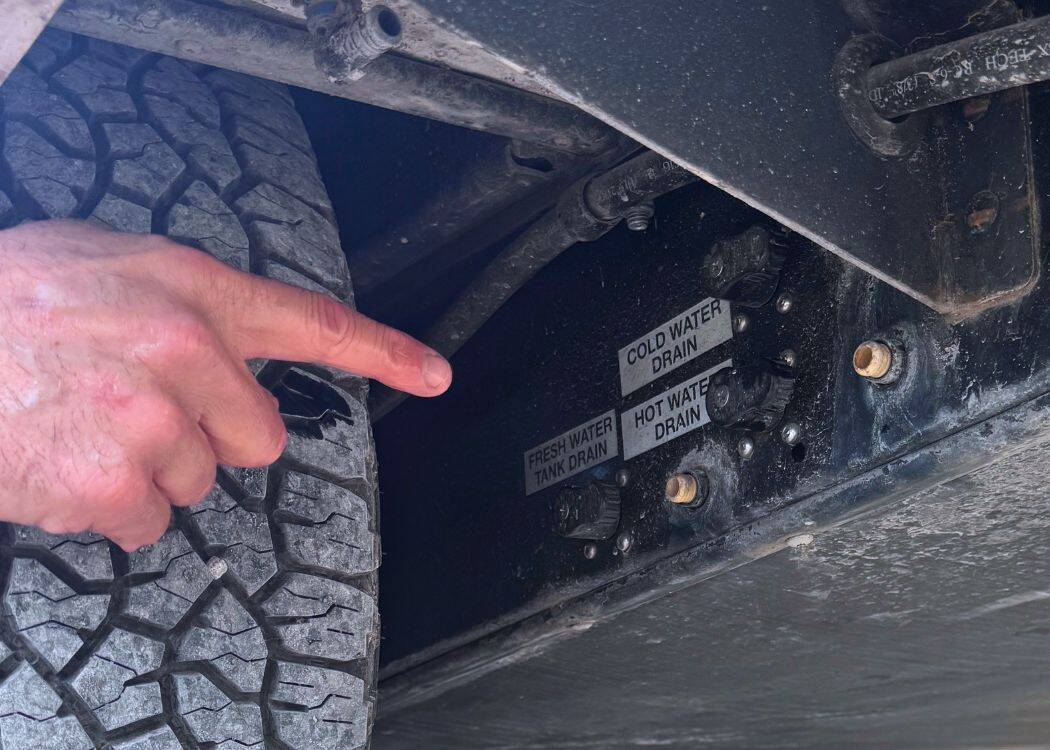
The tank will drain as we are driving (You will see the tell-tale water mark lines as you leave the dump station area).
Just remember to close the drain once you arrive at home or wherever you store your rig.
Of course, if you are headed to another camping location, you can skip this step if you want to.
How Long Does It Take?
Your first time at the dump station will probably take you between 10 and 15 minutes.
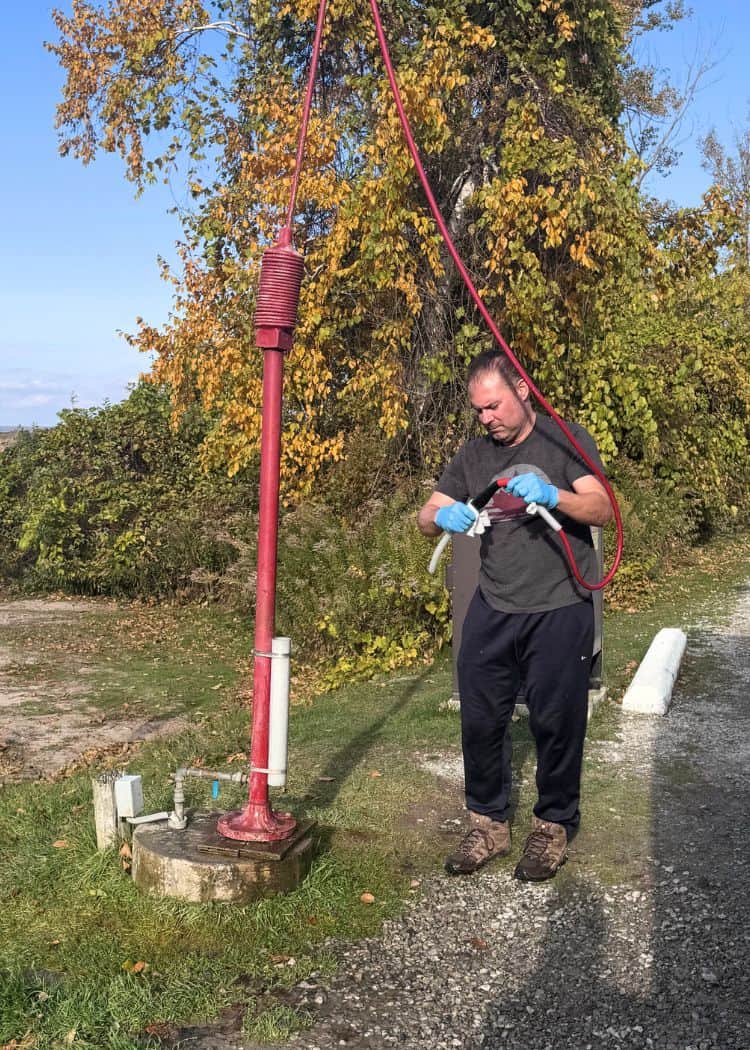
After that, you will likely finish in under 10 minutes on subsequent trips. It really does become second nature quickly.
What If You Have a Cassette Toilet Instead?
Some teardrop trailers and compact campers use a cassette toilet instead of a built-in black tank.
If that’s you, the process is a little different and usually easier.
With a cassette toilet, you remove the waste tank from your trailer and empty it into a comfort station toilet or the sewer opening at the dump station.
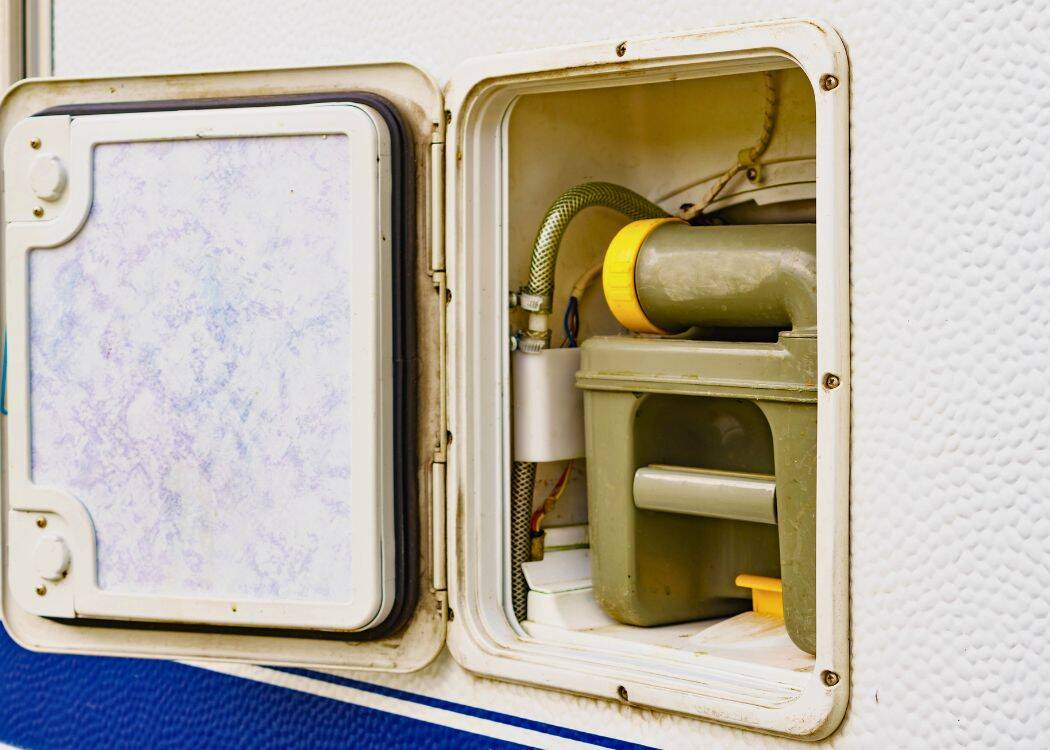
Most tanks have a spout and an air-release button to help with smooth pouring.
After emptying, rinse the cassette with clean water, add RV-safe toilet chemicals, and secure it back in place.
You will still need to empty your grey tank in the same way that we described above.
Quick Tips for Dumping a Cassette Toilet
Here are a few quick tips if you are new to cassette systems:
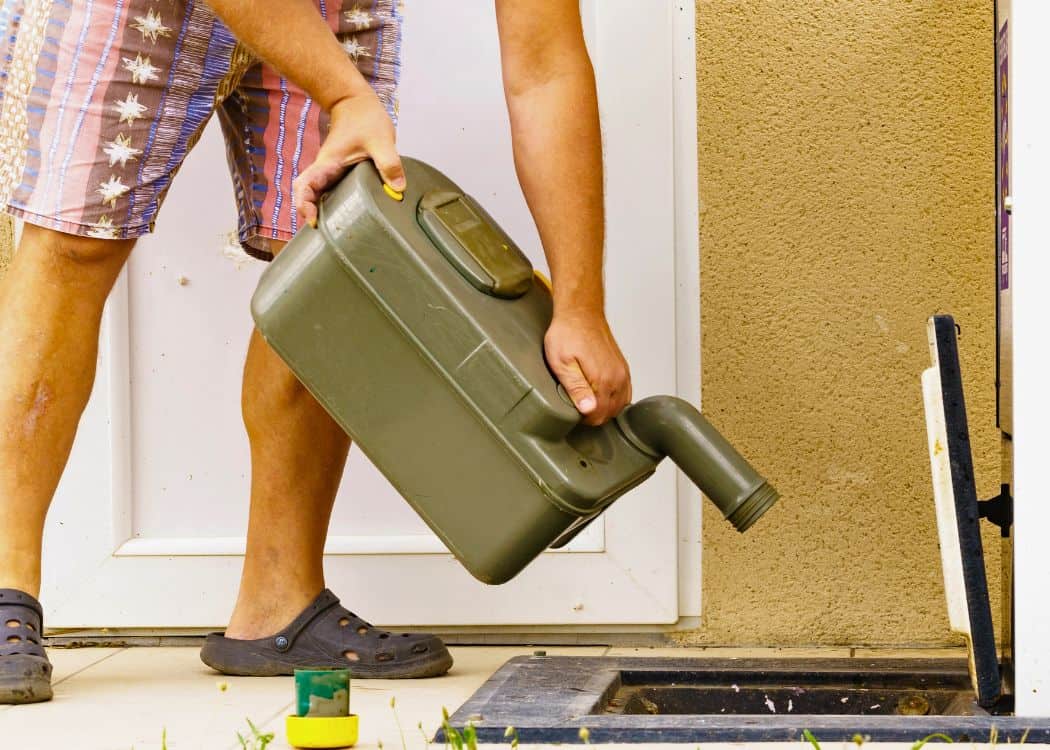
Many small-RV campers like cassette toilets because they are simple, lightweight, and easy to empty almost anywhere, including vault toilets and trailer dump stations.
Dump Station Etiquette
Just like with other areas of camping, there are also rules of etiquette to follow at the dump station.
If you follow these simple guidelines, then you will fit right in:
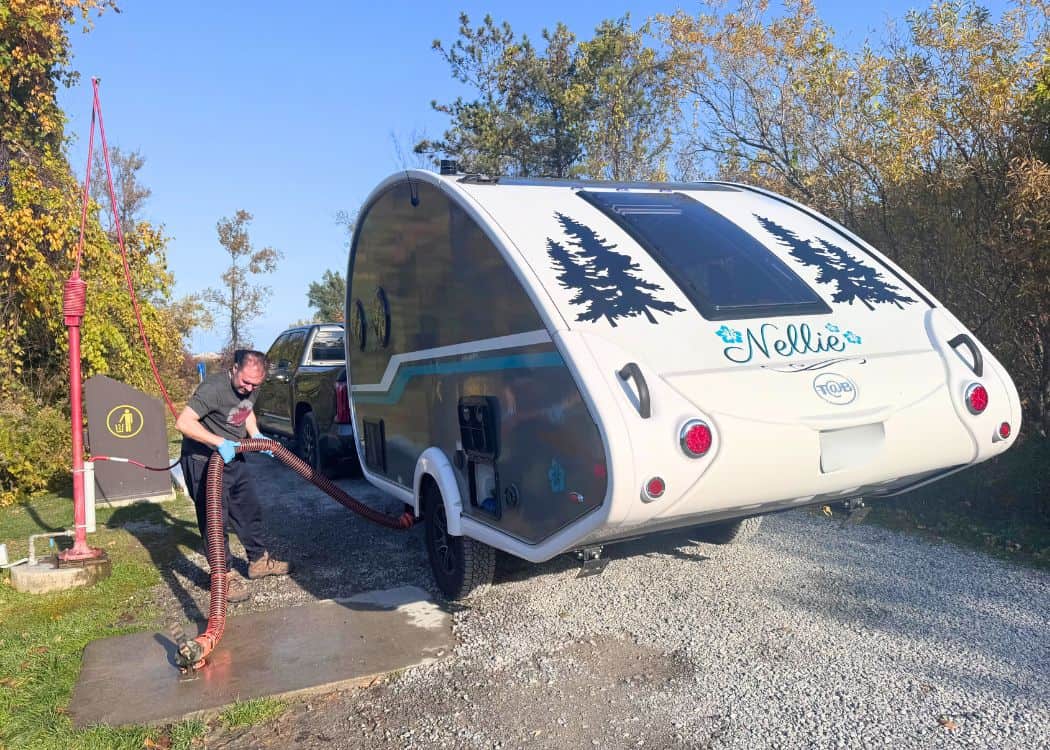
A little courtesy goes a long way.
How Often Should You Dump?
Although this may seem like an obvious answer, it really does depend on the situation.
Most people will dump their tanks:
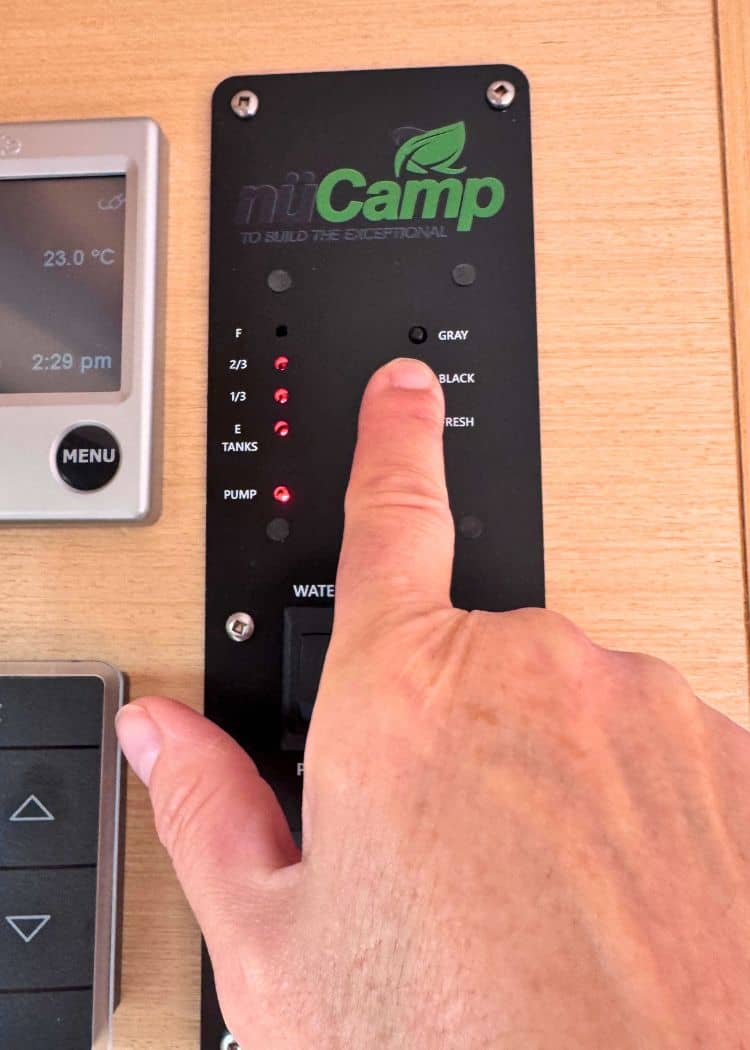
Our advice: do not wait until your black tank is completely full.
The last thing you want is for your tanks to get so full that the waste starts backflowing into your trailer! 💩💩
Common First-Timer Questions
If you are new to RVing, it is completely normal to have questions about the dump station process.
I had the same ones before my first time, too.
Below are answers to some of the most common things beginners might wonder about.

Can it smell bad?
There’s no getting around it. Poop stinks! 💩💩
Keeping your valves closed between dumps helps reduce odours, but just be prepared for the worst (especially on really hot summer days).
What if someone watches me?
It happens. Many RVers like to chat or offer tips.
Most do it to help. If it’s distracting, just say you’re learning and need a minute.
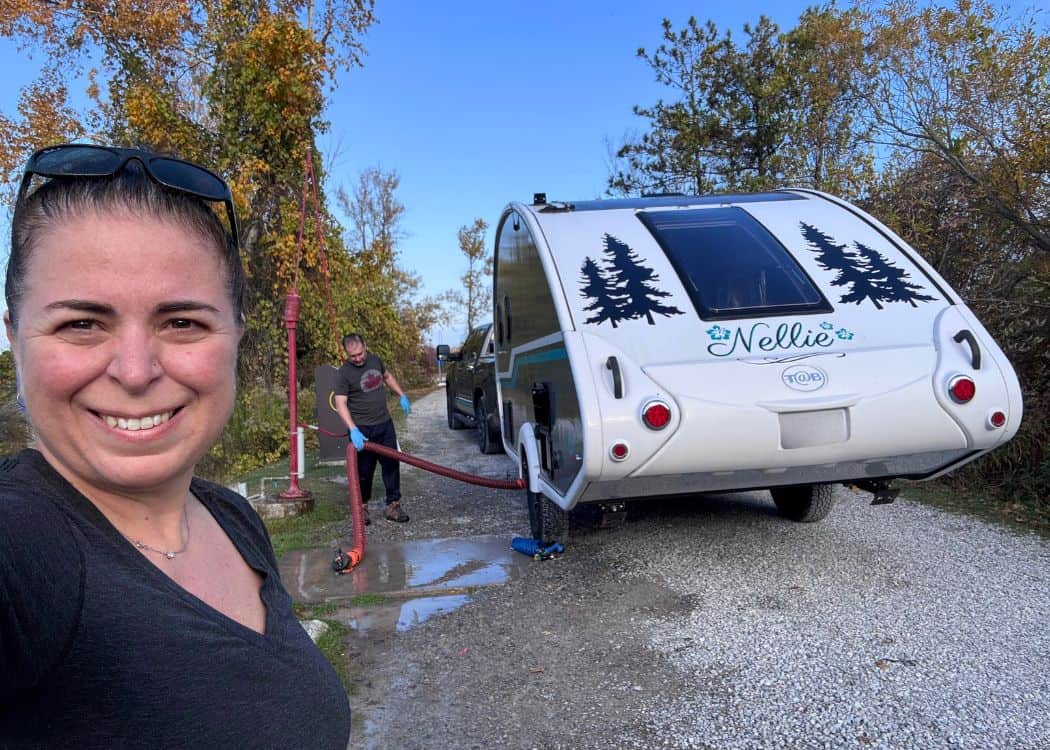
What if I spill?
Small drips happen. Use the rinse hose.
If anything larger spills, rinse well and sanitize.
It happens to many people at least once, including John.
Do I need Black and Grey Tank Treatments?
Tank treatments are not required, but they are definitely recommended.
These products help break down waste in the black tank and food particles or grease in the grey tank. They also help to control odours.

There are liquid and drop-in options. Both work.
Just make sure you choose an RV-safe product. Avoid anything with harsh chemicals or bleach, as those can damage your tank sensors and seals.
Do I need special toilet paper?
Yes. RV-safe or septic-safe toilet paper is best. It breaks down faster.
Should I keep the black tank valve open at full-hookup sites?
No. Always keep it closed until you dump.

This prevents waste build-up and odours.
Our First Dump Station Experience
It’s been 3 years, but I still vividly remember our first time at a trailer dump station.
We were on our “Maiden Voyage” at Bronte Provincial Park with our brand new teardrop trailer.
After a wonderful first camping trip with the family, we head over to the dump station only to encounter the longest line we have ever waited in to dump our trailer.

It was even longer than the wait at Algonquin Park (IYKYK)!
John had watched all the videos, read the instructions, and still felt nervous, especially because of the long line of people waiting behind us.
But once he walked through the steps, it made sense. Everything worked as expected. No spills. No drama.

It wasn’t until a much later trip that John made the mistake of not securing the hose in the dump station hole.
The pressure of the waste flowing from the trailer caused the elbow to jump out of the hole, releasing 💩💩 everywhere!!
While at least the mess was contained to the pad (it could have been MUCH worse), important lessons are learned from the mistakes that you make!
After three years of RVing, John doesn’t even think twice about the process of dumping our trailer.
So, if you feel nervous now, you won’t for long.
Final Tips
Now that you have heard our story, here are a few extra pieces of advice that will help you as a beginner:
Final Thoughts
Dumping your tanks the first time feels like a big deal, but it isn’t nearly as stressful as it seems.
With the right gear and a simple routine, you will be dumping your trailer like a boss!
Just remember to take your time. Keep things clean. And don’t worry if you feel unsure the first couple of times. We all start somewhere.
RV travel is a learning experience, and this is just one small part of it.
Trust me when I say, one day soon enough, YOU will be the one giving advice to new campers at the dump station.
Pin This Post for Later!
Related Posts:
- How to Winterize Your Teardrop Trailer in 10 Easy Steps (With FREE Checklist)
- The Ultimate Guide to Camping with Your Dog
- Best RV Campsite Setup Ideas for Your Teardrop Trailer
- Ultimate RV Departure Checklist for Teardrop Trailers
- Ultimate RV Arrival Setup Checklist for Teardrop Trailers
- How to Level a Travel Trailer & Why It’s So Important
- Top 15 Tips for Towing a Teardrop Trailer with Your Family Car
- How to Dewinterize Your Teardrop Trailer
- How To Use an RV Dump Station for the First Time
- How to Book an Ontario Provincial Park Campsite – An Ultimate Guide
- How to Book a Parks Canada Campsite – An Ultimate Guide
- Camping with A Teardrop Trailer – How to Plan the Perfect Trip
