
Camping with A Teardrop Trailer – How to Plan the Perfect Trip
You have purchased a Teardrop Trailer and have tried out all your gear on a weekend getaway. But now what?
Are you stuck with the overwhelming task of planning an extended road trip with your trailer? Camping with a teardrop trailer doesn’t need to be complicated.
John and I have found that a little planning makes a big difference.
When the basics are sorted ahead of time, our trips go a lot smoother and are more enjoyable.
This guide walks you through a simple way to plan a teardrop camping trip, from choosing where to go to getting ready to leave.
You can follow the steps in order or use them as a quick reference when planning your next trip.
Even if you camp with a tent or larger RV, this trip planner will still work for you.
Camping with a Teardrop Trailer
Camping with a teardrop trailer is different from camping with a tent or a large RV.
Storage space, gear, and campsite size all factor into how you plan your trip.

Before you start booking campsites or packing gear, it helps to think about where you want to go, what kind of campground works best for your setup, and how much time you want to spend driving between campgrounds.
Once you’ve thought through the basics, planning the rest of your trip becomes much easier.
Step 1: Choose the Right Destination
I know that this may sound a little basic, but it really is important!
During the three years that we have had our Teardrop Trailer, we have decided on a few bucket list destinations.
But once we started the planning process, we realized that the trip just wasn’t possible for one reason or another.
Things like really long driving days, unserviced campsites, or no nearby amenities (like gas stations or groceries) can really throw a monkey wrench into your plans.

Start by asking yourself:
Teardrop trailers work well in many campgrounds, from provincial and state parks to private sites.
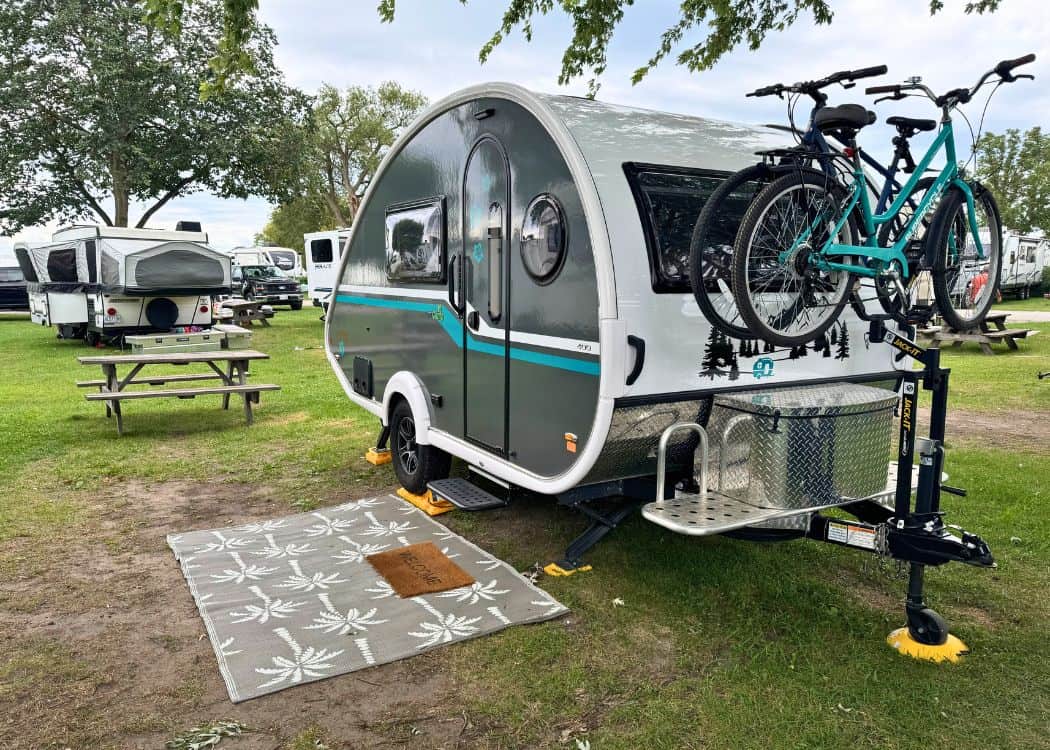
If you plan on staying in the same place for the entire trip, narrow down your choices to two or three destinations and compare drive times, campground options, and nearby activities.
If, like us, you like to move around, you will need to first pick your campgrounds and then choose a suitable route.
This step helps set realistic expectations for the rest of your planning.
Step 2: Pick the Best Campsite
Once you’ve chosen a destination (or several!), the next step is to decide on the actual campsite.
Not every site works for a teardrop camper (i.e. split-level sites, tent-only sites, backcountry or walk-to sites), so a little research goes a long way.

Look beyond availability and check:
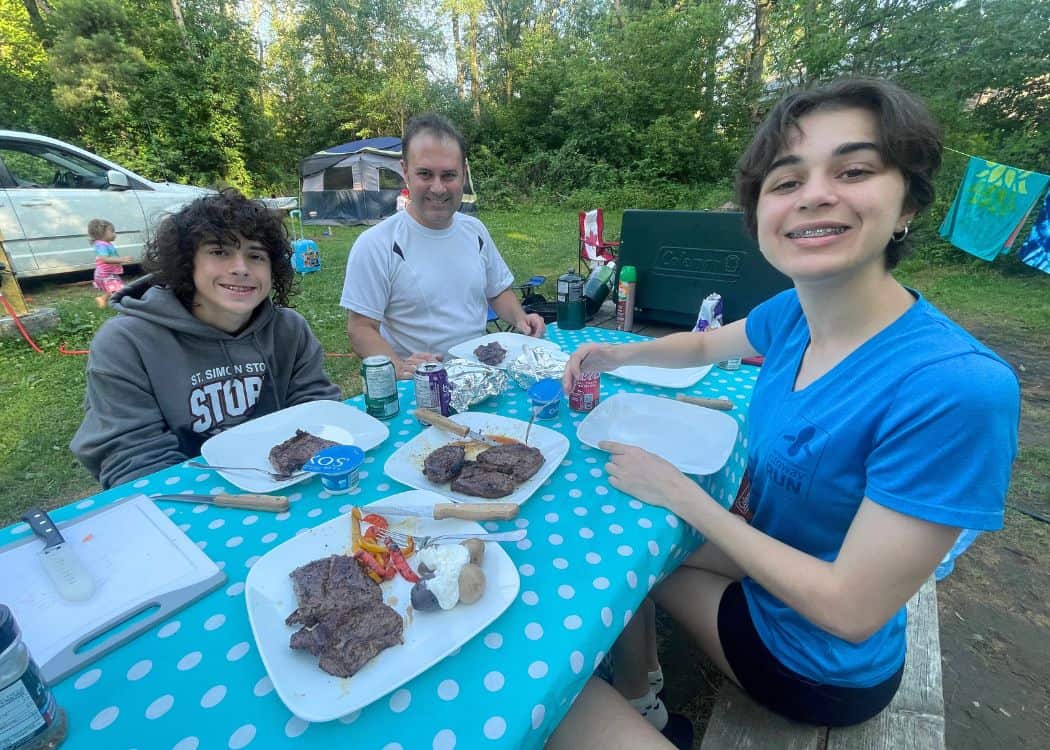
Campsite maps, photos, and reviews are incredibly helpful.
This is where taking a few extra minutes to do your research can make a big difference once you arrive.
🏕️ Expert Tip: Try to book early for peak seasons. Popular parks fill up fast.
If you are booking a site at an Ontario Provincial Park, remember that they book 5 months in advance.

Choose your campsite(s) and write down the site numbers as well as the date that bookings for that campground open.
I would recommend choosing at least three sites (especially with the provincial or national parks), as you may not get your first choice.
If you are not sure how to book an Ontario Park or a Canadian National Park, check out our posts for a detailed step-by-step walkthrough.
Step 3: Plan Your Drive Day
Now that you have chosen your campground(s) and site(s), your next task is figuring out how you are going to get there.
Now, if you are the type of trip planner who likes to pick their route first, and then find spots to stay along the way, you could easily switch this segment to Step 1.
You would then follow with your destinations and campsites.
If not, just follow along with the way we have things written in this post.
There is no wrong way to do this!
But let’s get on with choosing our route! A little planning makes travel days feel a little less stressful, especially with a trailer.

You will need to plan for:
🏕️ Expert Tip: We always try to keep snacks, water, chargers, and our campground paperwork handy in the car.
We always map our route and mark any stops that we need to make along the way. Always aim for a smooth drive, not a rushed one.
And speaking of smooth drives, we really dislike driving on dirt roads.
Unfortunately, Google Maps has no way to filter out routes that use dirt roads.
And sometimes Google directs you on these routes to save a few minutes. When in reality, it takes sooooo much longer since you have to drive slowly.

The problem is, when you are towing a trailer, dirt roads are not ideal. Especially if they get too narrow, are covered in potholes, or end up crossing tight bridges.
I am always fearful of getting into a tight spot that we can’t get out of!
The only way we have come up with to avoid this issue is to use Google Maps’ own Street View feature.
Have a peek at what the roadway looks like before you head out for the day.
Step 4: Plan Simple Meals and Only Bring Necessary Gear
John and I are overpackers by nature. So when we started camping with a Teardrop Trailer, we really had to have a more minimalist mindset.

And that concept applies to both food and gear.
Keep food and gear simple. Space matters in a teardrop, so choose items that work hard for you or can do double duty.
Some food for thought (see what I did there 😂):

We try to meal prep before we leave home. This way, it takes less time to cook, and there is way less cleanup at the campsite.
One-skillet meals are great, especially for short trips. Less work in the kitchen means more time by the campfire.
Gear is also an important thing to consider.
While most of our smaller gear stays in our trailer, we have a shelf in our garage just for our large camping gear (like camp chairs, tables, and paddleboards).
We also keep some of the smaller items (i.e., Coleman grill, games, outdoor lights) in plastic bins, which are also stored on the shelf.

The gear moves from our garage, into our tow vehicle, then back to the shelf when we are done.
We have found this system really helpful as it saves time and makes it less likely that we will forget something important (like the time John forgot our BBQ).
Some examples of gear that we bring along:

If you are still at a loss for what to bring, you can check out our blog post about campsite setup.
🏕️ Packing tip: Gather things by zone. Kitchen, bedding, outdoor, bathroom, toolbox. Small trailers stay neat when everything has a home.
Step 5: Final Prep Before You Leave
Your route is confirmed, and your trailer is packed, but there is still one important step to complete before you hit the road.
You need to make sure that all your safety checks have been done.
A quick pre-trip check can save you from small but frustrating issues later.

Before you head out, here are a few important things to check:

Final Thoughts
Camping with a teardrop trailer is all about keeping things simple.
With a bit of planning up front, it definitely makes trips run a little smoother from start to finish.
You know where you’re going, what to expect when you arrive, and what you need to bring with you.
Over time, the process becomes second nature. Start small, and then plan longer trips as you get more comfortable.
If you like having a clear plan and reusable tools, the steps in this guide can help make every teardrop trip smoother.
Pin This Post for Later!

Related Posts:
- How to Winterize Your Teardrop Trailer in 10 Easy Steps (With FREE Checklist)
- The Ultimate Guide to Camping with Your Dog
- Best RV Campsite Setup Ideas for Your Teardrop Trailer
- Ultimate RV Departure Checklist for Teardrop Trailers
- Ultimate RV Arrival Setup Checklist for Teardrop Trailers
- How to Level a Travel Trailer & Why It’s So Important
- Top 15 Tips for Towing a Teardrop Trailer with Your Family Car
- How to Dewinterize Your Teardrop Trailer
- How To Use an RV Dump Station for the First Time
- How to Book an Ontario Provincial Park Campsite – An Ultimate Guide
- How to Book a Parks Canada Campsite – An Ultimate Guide
- Camping with A Teardrop Trailer – How to Plan the Perfect Trip
