
How to Dewinterize Your Teardrop Trailer
Interested in learning how to de-winterize your Teardrop Trailer? We have got you covered!
If you are a new Teardrop Trailer owner like we are, the idea of de-winterizing your rig may seem like a daunting task.
From checking your seals to figuring out how to flush your tanks, it’s really important to inspect your trailer before heading out for your first camping trip of the season.
While most people only think of flushing and sanitizing your water lines and tanks during the de-winterization process, there really is a lot more that you should be doing.
So let us walk you through the process!
When Should I Dewinterize My Teardrop Trailer?
Dewinterizing your Teardrop Trailer should only happen when the weather stays consistently warm enough that there is no longer a chance of frost. You don’t want your pipes to freeze!
That said, if your Teardrop trailer does not have any plumbing, then you can de-winterize whenever you are ready to head out on your first trip of the season.

How to Dewinterize a Travel Trailer in 10 Steps
While we have geared this process towards a TAB 400, the process will be similar to other types of Teardrop trailers (aside from the water tank system).
1. Remove Your Teardrop from Storage and Inspect the Exterior
Reuniting with your Teardrop trailer after a long winter feels great, doesn’t it? But before you set off on your next adventure, let’s make sure it’s in tip-top shape.
Taking it out of storage is the perfect time for a thorough inspection.
Start with a walk around your trailer. Look for signs of wear like cracked or peeling seals, or damage to the weatherstripping around your windows and doors.
These seals are crucial as they keep water out and protect the interior. Any damage here can lead to leaks, so it’s important to spot and address these issues early.
And don’t forget to check the roof! Especially if your Teardrop is stored outside, accumulating snow may have caused some damage.
Just be really careful, as the teardrop shape is not conducive to having a sure footing!
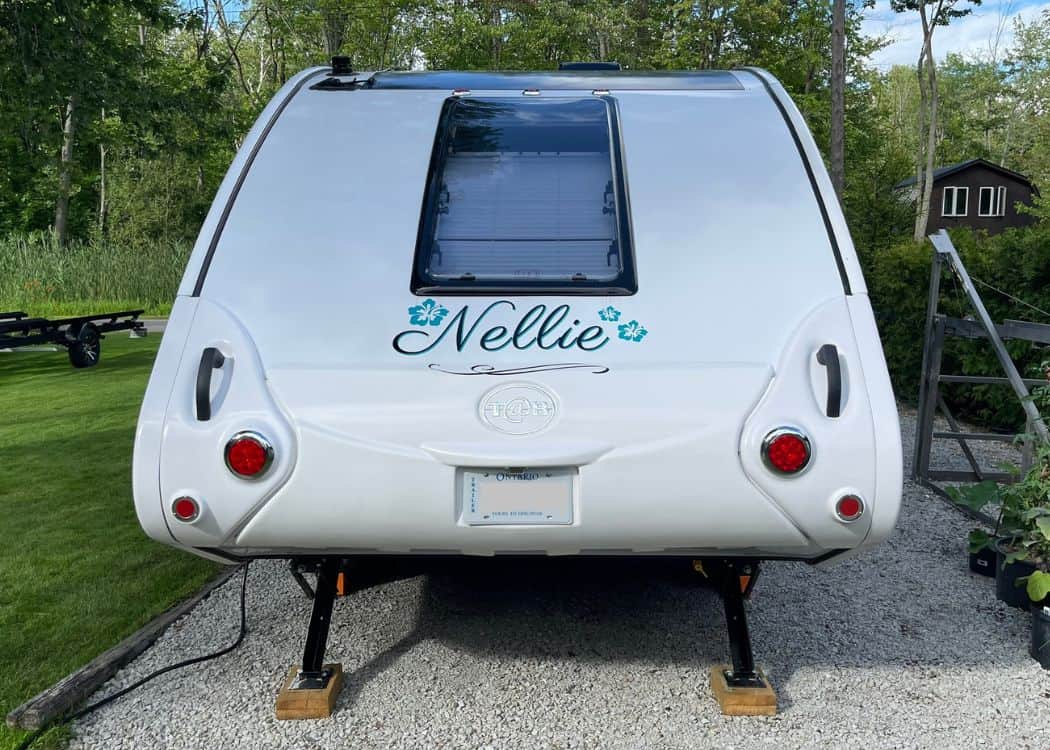
Next, examine the exterior walls for any damage – things like dents, scrapes, or loose fittings. Even in storage, your trailer might have faced challenges like severe weather or animals seeking shelter.
Don’t forget to check the hitch area. This is the lifeline between your car and trailer.
Look for any rust, damage, or loose components in the hitch mechanism. A secure and functional hitch is essential for safe towing.
Also, take a peek underneath and around the tires. Animals can find their way into small spaces and you wouldn’t want any uninvited guests hitching a ride.
A detailed inspection now can prevent problems down the line. Once you’re sure the exterior is ready to go, you’re all set for the next step in getting your Teardrop trailer road-ready.
2. Look Over Your Teardrop’s Tires
Checking your tires is an important step in keeping you ‘rolling’. Giving them a good once-over will make sure that you have a smooth trip.
First things first, check the tire pressure. Tires can lose pressure while sitting idle, especially in cold weather.
Use a reliable tire pressure gauge and inflate them to the recommended PSI. You’ll find this number either in your trailer’s manual or on a sticker on the trailer itself.
Next, check the tread depth. Tires with worn-out treads are like worn-out sneakers – not much good for grip.
Check the tread depth to make sure it’s within safe limits. An easy way to do this is with the penny test.

Just place a penny (or in our case, a dime) into the tread with the head facing down. If you can see all of the head (whether it is Lincoln, the King, or the Queen), it’s time for new tires.
Next, look for signs of dry rot or damage, like cracks or bulges in the sidewall.
These can be signs of weak spots that could lead to a blowout. Not something you want happening on the highway!
You should also check for wear and tear on the tires. Evenly worn tires are good.
If the wear is uneven, it could mean your tires are misaligned, which can cause handling problems and even more wear.
Lastly, give the wheel lug nuts a check to make sure they’re tight and secure. Loose nuts can lead to a wobbly wheel, and that’s the last thing you need when you’re towing.
3. Check Your Teardrop Trailer’s Battery Condition
When getting your trailer road-ready, don’t forget about the battery – it’s pretty important for keeping everything from lights to appliances running smoothly.
If you removed your batteries from the Teardrop for winter storage, make sure they are fully charged.
Start by giving it a good look-over for any corrosion on the terminals. Corrosion appears as a white or blue powdery substance and can be cleaned off with a baking soda and water mix.
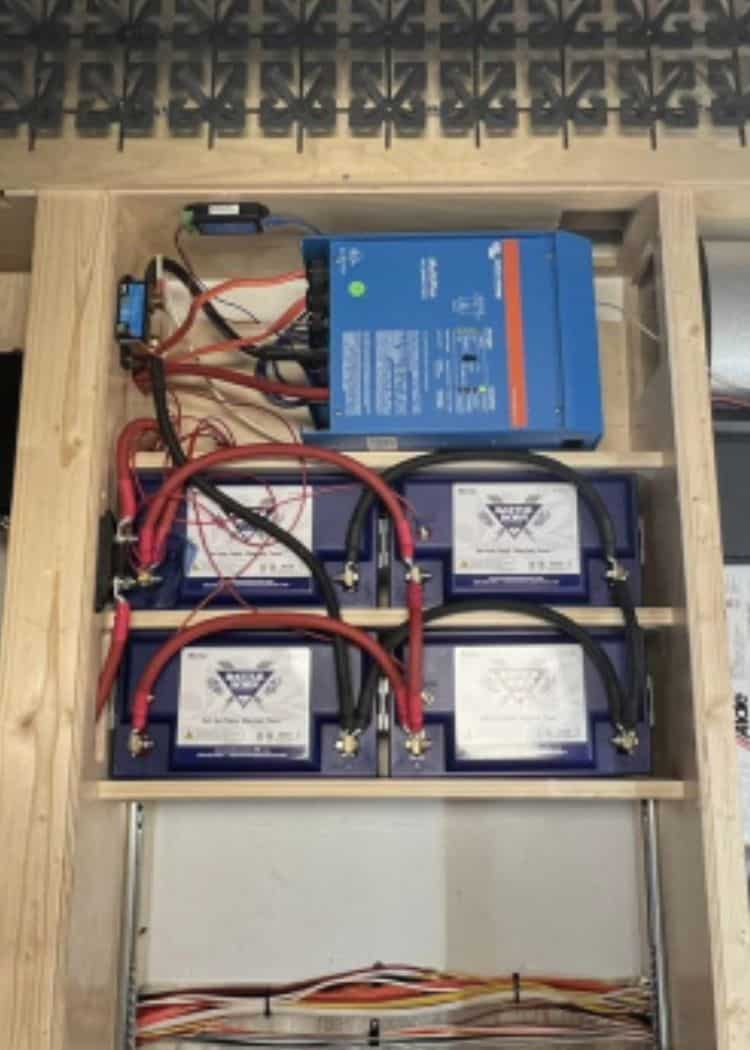
Next up, check the battery’s charge level. If you have a multimeter, checking this is a breeze.
A fully charged 12-volt battery should show about 12.6 volts or more. If it’s reading lower, you’ll need to charge it.
Also, keep the battery’s age in mind. They typically last between 3-5 years, so if yours is older, it might be time for a replacement to avoid any unexpected issues.
Lastly, ensure that all connections are tight and secure. Loose connections can lead to power troubles, and that’s the last thing you need when you’re out enjoying the wilderness.
4. Inspect Your Teardrop Trailer’s Propane System
It is important to inspect the propane system in your Teardrop trailer before you head out on your first trip.
Start by checking the propane tanks themselves. Look for any signs of damage like dents, rust, or leaks.
If you smell gas or hear a hissing sound, that’s a red flag. Always handle propane tanks carefully and store them upright and in a well-ventilated area.
Next, take a look at the hoses and connections. These can become loose or wear out over time.
Make sure everything is snug and there are no cracks in the hoses.

A soapy water solution can be handy here. Just apply it to the connections and watch for bubbles – if you see any, it means there’s a leak.
Don’t forget to test the propane regulator, too. This little gadget controls the gas flow and keeps it at a safe level.
Signs of a failing regulator include a yellow or inconsistent flame in your appliances.
Lastly, if your trailer has been sitting idle, it’s a good idea to test all the appliances that use propane – like your stove, heater, or fridge.
Light them up and make sure they’re working as they should. If you encounter any issues, it’s best to get a professional to take a look.
We also make a point of filling our propane tank before our first trip out for the season.
5. Examine Your Teardrop Trailer’s Solar Components
If your Teardrop trailer is equipped with solar panels, like ours is, it’s important to give them a thorough check.
Start by inspecting the solar panels themselves. Look for any obvious damage like cracks or chips.
These panels are pretty sturdy, but they can still suffer from harsh weather or debris. Make sure they’re clean, too.
A layer of dust or dirt can significantly reduce their efficiency. A gentle cleaning with water and a soft cloth can do wonders.
Then, check the connections. Ensure that all the wires are securely connected and haven’t been nibbled on by critters or damaged by the elements.
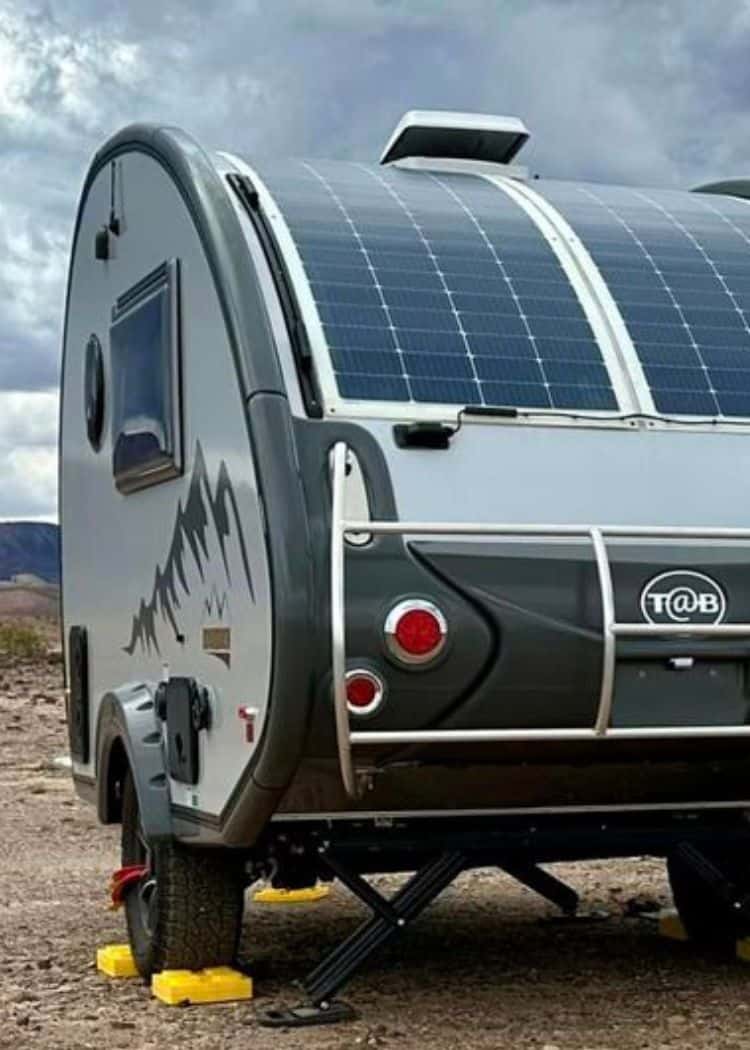
Loose or damaged connections can lead to poor performance or even safety hazards.
Don’t forget about the charge controller. This component regulates the power going into your battery, preventing overcharging.
Make sure it’s properly connected and displaying the correct readings. If you notice any error messages or unusual readings, it might need some professional attention.
Lastly, if your trailer has a battery monitor or an inverter, give them a once-over as well.
Ensure the monitor is showing accurate battery levels, and test the inverter by powering up a small appliance.
6. Test Your Teardrop’s Electrical System
The electrical system in your Teardrop trailer powers everything from your lights to your gadgets, so you want to make sure it’s all in good working order before your first trip.
First things first, connect your trailer to a power source, like your home.
Once connected, start by testing the basics – turn on the lights, the fan, and any other built-in electrical features.
Keep an eye out for flickering lights or anything that doesn’t turn on, as these can be signs of electrical issues.
Next, check your outlets. A simple way to do this is by plugging in a small appliance or an outlet tester.

This will tell you if the outlets are working and receiving power. It’s also a good idea to check your circuit breaker or fuse box for any tripped breakers or blown fuses.
If you have any electronic gadgets specific to your trailer, like a monitoring system or a special lighting setup, give those a test run too.
It’s better to spot and sort out any glitches now rather than when you’re miles away from home.
If you do come across any issues, we would recommend speaking to a professional. Better safe than sorry, especially when it comes to electricity.
7. Flush And Sanitize Your Teardrop Trailer’s Water System
One of the most important steps to de-winterizing your Teardrop trailer is to flush and sanitize the water system.
Of course, if your Teardrop does not have any plumbing, you can skip this step altogether!
But if there is plumbing in your Teardrop, chances are, antifreeze was added to the water pipes to prevent freezing damage when you winterized your trailer.
So once the warmer season approaches, it’s important to flush out all the antifreeze and make sure that the water running through your taps is safe and clean.
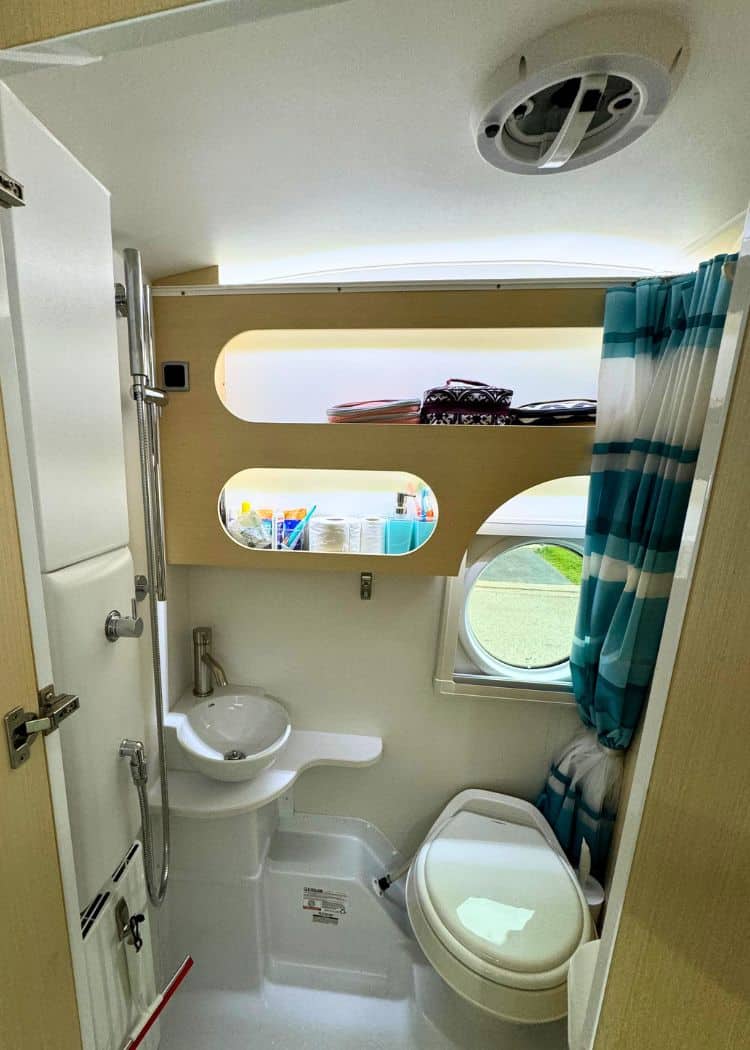
Once the antifreeze has been flushed out of your system, you will also need to sanitize your tanks.
This step eliminates any bacterial build-up that might have occurred during the off-season.
Below, are the step-by-step instructions for flushing and sanitizing your water system.
If like us, you have a Nautilus system, just follow the diagram on your panel for the position of your diverter handles.
Drain the Antifreeze
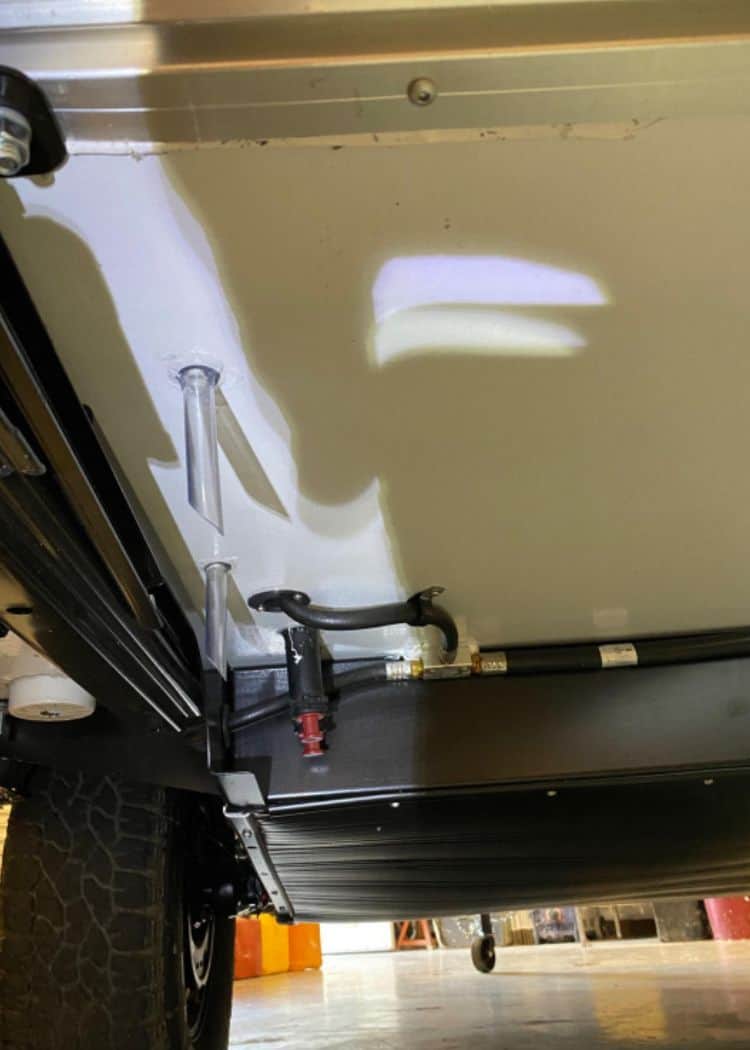
The first step in the de-winterization process is to drain the antifreeze out of your system.
This is done by opening all low-point drains on your Teardrop.
The RV antifreeze used should be the non-toxic version, so it should be safe to dump down the drain.
Be sure to close your low-point drains.
Flush Your Water System
The next step is to flush your water system.
- The first step is to set the levers to WINTERIZING according to the panel instructions. This sounds counterintuitive, but trust me, it’s the right first step for de-winterizing.
- Next, connect the garden hose from a water source to the CITY WATER CONNECTION inlet on the panel and turn on the water.
- You can then start flushing out the antifreeze, one plumbing fixture at a time until the water runs clear. In our case, we needed to run the kitchen sink, shower, bathroom sink, toilet, and then the outside shower. Don’t forget, you need to run both hot and cold water through each.
- Next, switch the Nautilus diverter levers to the POWERFILL Tank position. We recommend using a water pressure regulator attached to your hose to control the PSI intake.
- Fill the fresh water tank to about half full. You can then turn off the water.
- Switch the Nautilus Panel settings to DRY CAMPING.
- Activate the pump by pressing the “PUMP” switch. You will notice the light come on.
- Lastly, do a final flush using the outside shower. Open the COLD faucet on the Nautilus panel and use the shower head to flush out any remaining winterizing solution.

Sanitize Your Water System
Once your system is flushed, the last step is to sanitize your tanks.
- Set the levers to SANITIZE as per the Nautilus guide.
- Mix a sanitizing solution of 1/4 cup household bleach per 15 gallons of water. The tank on our TAB 400 holds 22 gallons, so we end up using about half a cup of bleach.
- Pour the half cup of bleach into a clean bucket and fill it with water.
- Attach a short hose to the city water intake. This should not be your regular drinking water or sewer hose.
- Put the other end of the short hose into the diluted bleach solution.
- Turn on the Nautilus Pump. It should begin sucking up the bleach mixture. If the pump isn’t priming, lift the end of the hose that is in the bucket and pour some liquid in with a funnel. You can also try to turn on the sink faucet to help prime the pump.
- Once the bucket is empty, turn off the pump and disconnect the short hose.
- Reconnect your garden hose to the CITY WATER CONNECTION and continue filling the fresh water tank to the top using the POWERFILL setting.
- Put the Nautilus levers into DRYCAMP mode and turn on the pump.
- One by one, turn each sink and shower faucet on and run the water until you can smell the bleach solution. Then close the tap. This will fill and sanitize your plumbing system.
- Let the solution sit in the system for 6 to 12 hours for the most effective sanitization.
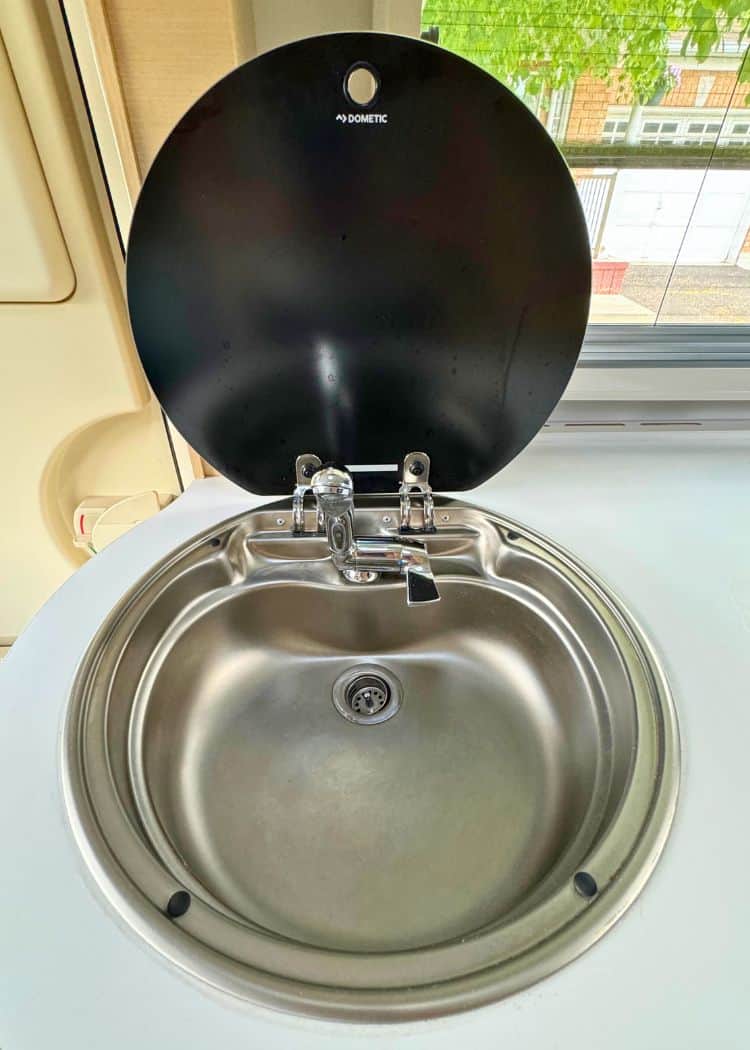
Final Flush
- Open your fresh water tank drain and empty the tank.
- Fill your fresh water tank again (repeating steps 7-10). Immediately drain the fresh water tank.
- Repeat these steps until you no longer smell bleach.
- You can then drain all the lines by running the faucets. Don’t forget to empty your grey water tank.
- Your tanks are now sanitized and ready to go!
8. Check Your Alde System
The Alde system in your Teardrop trailer is pretty important, as it provides heat on those chilly nights and hot water for washing up.
So it’s important to make sure it’s working properly before you head out on your adventures.
First, if your Alde system hasn’t been used for a while, it’s a good idea to check the fluid levels.
The Alde system uses a mixture of deionized water and antifreeze to heat your trailer. So checking to make sure that the levels are correct is really important.

If it’s low, you might need to top it up. Just remember to use the correct type of antifreeze.
Next, fire up the system and let it run for a bit. Listen for any unusual noises and watch for any error messages on the control panel.
The Alde system should operate smoothly and quietly. Any strange noises or error messages could indicate a problem.
While it’s running, check the radiators throughout the trailer. They should warm up evenly and there shouldn’t be any cold spots.
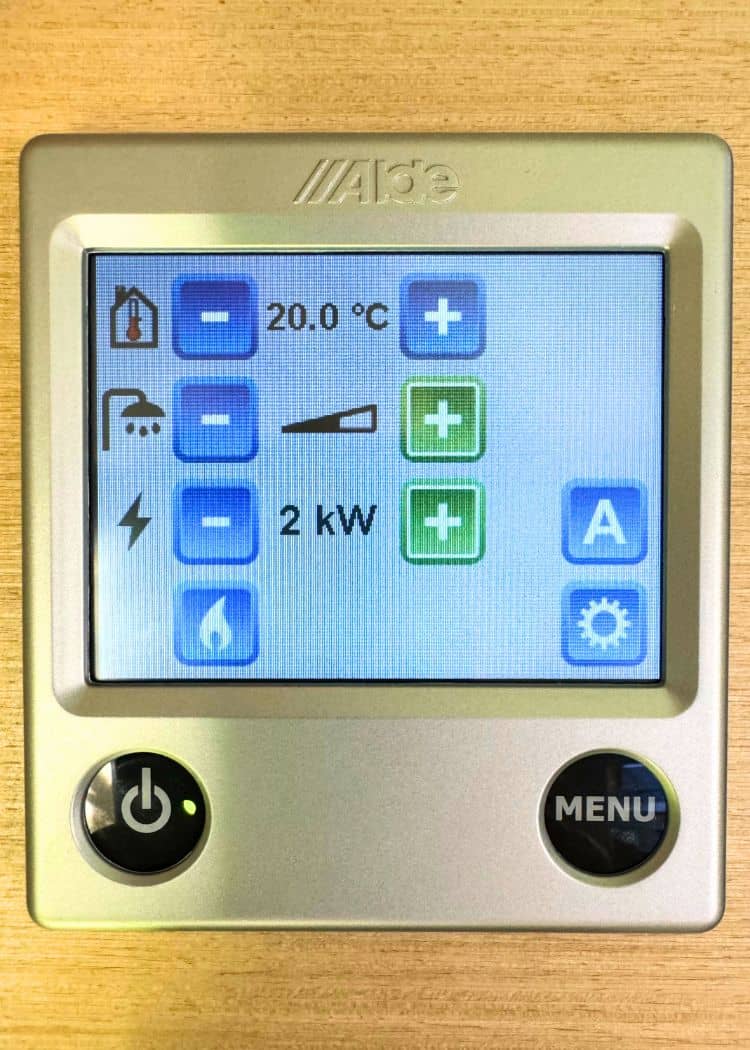
This will tell you that the system is circulating properly and heating efficiently.
Don’t forget to test the hot water function too, if your system includes it. Run the tap and check that you’re getting a steady supply of hot water.
Issues with water temperature or pressure could point to a problem in the system.
If you do encounter any issues, or if you’re not comfortable checking the system yourself, it’s a good idea to get it looked at by a professional.
The Alde system is a complex piece of equipment, and sometimes it needs an expert touch.
9. Inspect the Interior of Your Teardrop Trailer
Be sure to take the time to inspect the interior of your Teardrop trailer. It is your home away from home, after all.
The first thing I like to do is to open the door and windows to let in some fresh air. John teases that it’s because I am German and obsessed with ‘frische Luft’ (fresh air).
But honestly, it really does get a bit stuffy in there after being closed up for a while.
We start with a general look-over. Check for any signs of water damage, like stains or mould, especially around windows and the roof.

Water damage can be a sneaky problem, and catching it early can save you a lot of hassle, and money.
Next, give the floors a good once-over. Make sure they’re solid with no soft spots, which can indicate underlying issues.
Then, check all the cabinets and storage spaces. Open and close them, ensuring the hinges and latches are working properly.
I really hate when the drawers fly open during travel, so we make sure that everything has been tightened and ready to go for the new season.
While you are busy checking the drawers and cabinets, keep an eye out for any signs of uninvited guests like mice or insects.
Look for droppings, chew marks, or nests. Even a small hole can be an entry point for critters. Yuck!

Now, onto the appliances. If you have a built-in stove, fridge, or heater, test each one to make sure they’re functioning correctly. This is also a good time to check any gas connections for leaks.
Lastly, take a moment to check the bedding and seating areas. Make sure everything is clean, dry, and free of damage or pests.
And lastly, don’t forget to check your smoke and carbon monoxide detectors. Just like you do at home, make sure they have fresh batteries and test them to ensure they’re working properly.
10. Clean Your Teardrop Before Your First Trip
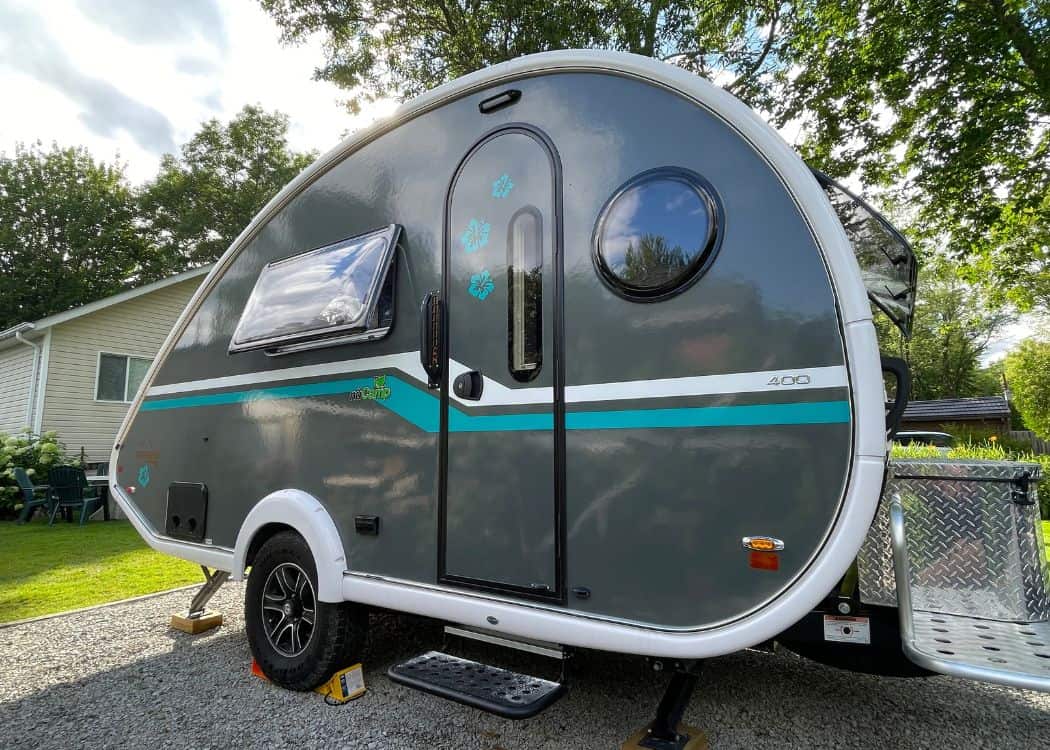
Giving your Teardrop trailer a good clean before hitting the road seems pretty obvious. After being in storage, it’s likely gathered a bit of dust and grime, both inside and out.
Giving your Teardrop a good wash is another opportunity to notice any problems.
Be sure to use gentle soap and a soft brush or cloth. Pay special attention to the nooks and crannies where dirt and debris like to hide.
If you have a hose, use it to rinse off the soap, but avoid high-pressure washers as they can damage seals and paint.
The same idea applies to the interior. Giving your trailer a good deep clean gives you another opportunity to notice any issues.
Vacuum the floors, seats, and any soft furnishings. Dust all surfaces, including the countertops, and shelves. Check over your mattress and give any fabric or upholstery, a freshen-up with fabric cleaner.
Cleaning the windows is a must if you want to enjoy all the spectacular views. Use a soft cloth and a streak-free cleaner for the best results and to prevent any scratching.
Don’t forget to clean the window sills and tracks, where dust and bugs love to accumulate, and check your screens while you are at it.
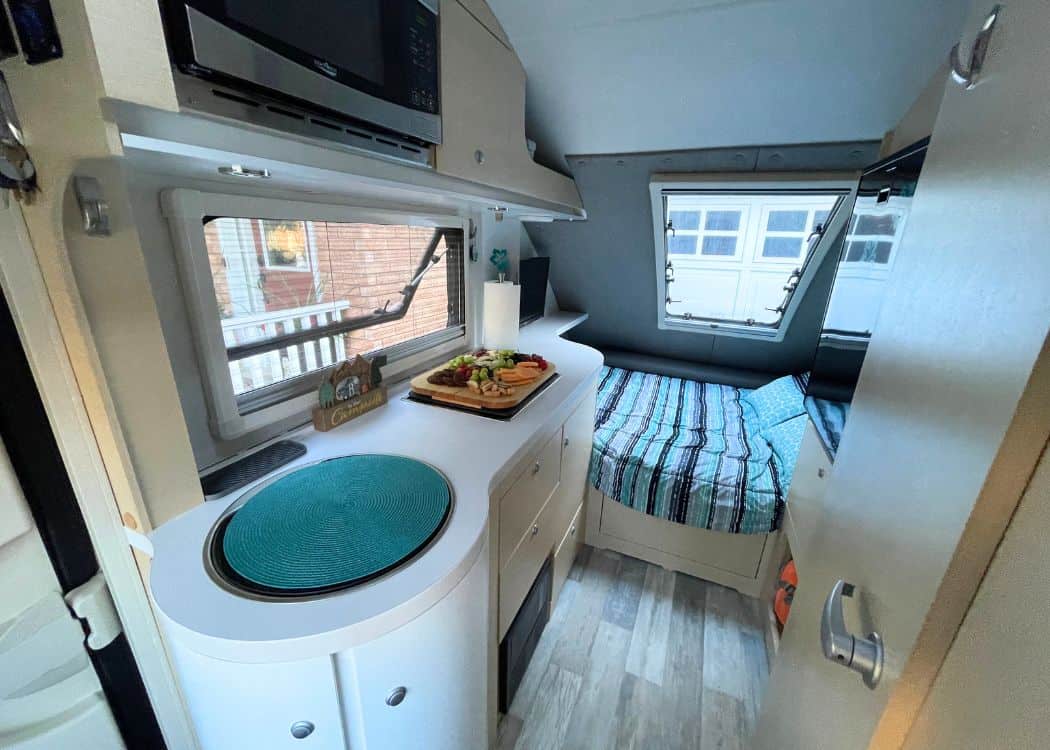
Next, tackle the kitchen area. Clean all surfaces, appliances, and inside the cabinets. If you have a fridge, give it a good wipe down too.
Finish up by cleaning the bathroom area, if your Teardrop has one. Sanitize the toilet, sink, and shower area.
I like to make sure that all the pink antifreeze residue has been cleaned out of the sinks and off the shower floor.
After we do our thorough cleaning, we take the opportunity to ‘move back in’ to our Teardrop.
We restock all the essentials like dish soap, sponges, toilet paper, and paper towels. And we also check our first aid kit to make sure it is well stocked.
Get Your Dewinterization Done Professionally
If the idea of de-winterizing your Teardrop Trailer is too overwhelming, you can always have it done professionally.
When we first purchased our Teardrop, the awesome staff at our dealership did the dewinterization for us.
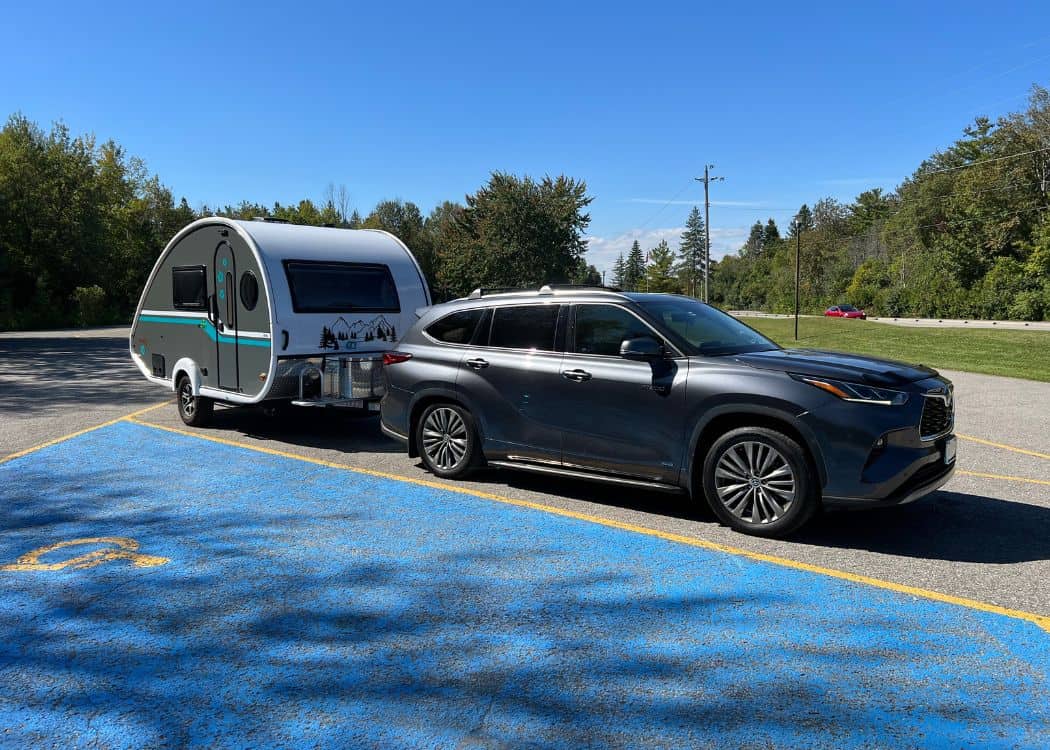
This was a big relief, as we were first-time trailer owners, and were already feeling overwhelmed with everything we had to learn before our Shake Down trip.
You can also ask if you can be present during the process so that you can learn for the next year.
Final Thoughts
And there you have it, the rundown on dewinterizing your Teardrop trailer. Hopefully, this post has made the whole process a little easier to understand.
Each step, from inspecting the exterior to flushing the water system, is about making sure your tiny home-on-wheels is safe, comfortable, and ready for the road.
And while it might seem like a bit of work at first, trust me, it’s worth it. The more you take care of your trailer, the longer you will be able to enjoy it.
Did we forget to mention something? Let us know! We would love to hear from you.
Pin This Post for Later!

Related Posts:
- How to Winterize Your Teardrop Trailer in 10 Easy Steps (With FREE Checklist)
- The Ultimate Guide to Camping with Your Dog
- Best RV Campsite Setup Ideas for Your Teardrop Trailer
- Ultimate RV Departure Checklist for Teardrop Trailers
- Ultimate RV Arrival Setup Checklist for Teardrop Trailers
- How to Level a Travel Trailer & Why It’s So Important
- Top 15 Tips for Towing a Teardrop Trailer with Your Family Car
- How to Dewinterize Your Teardrop Trailer
- How To Use an RV Dump Station for the First Time
- How to Book an Ontario Provincial Park Campsite – An Ultimate Guide
- How to Book a Parks Canada Campsite – An Ultimate Guide
- Camping with A Teardrop Trailer – How to Plan the Perfect Trip
