
How to Winterize Your Teardrop Trailer in 10 Easy Steps (With FREE Checklist)
When winter rolls around, it’s time to tuck your teardrop trailer in for the season.
It truly is the saddest time of the year for me!
And if you live in a colder climate like we do, winterizing isn’t optional—it’s absolutely necessary.
It protects your trailer from freezing temperatures and moisture damage, keeping it in good shape for the next season.
While the whole winterization process may sound complicated, once you break it down step by step, it really is quite manageable.
Here’s how we winterize our teardrop trailer and why it’s worth the effort.
Why Do You Need to Winterize Your Teardrop Trailer?
Teardrop trailers are compact, which makes them easier to care for, but it also means the plumbing and systems can be more vulnerable to freezing.
Water left in your pipes can expand and crack fittings, tanks, and even the water heater.

A little time spent winterizing saves you from expensive repairs in the spring.
And taking the time to do some maintenance both inside and out helps to keep your trailer fresh, clean, and ready to go when camping season returns.
When Should You Winterize Your Teardrop Trailer?
We always plan to winterize before the first hard frost.
For us in Southern Ontario, that usually means between the end of October and mid-November.
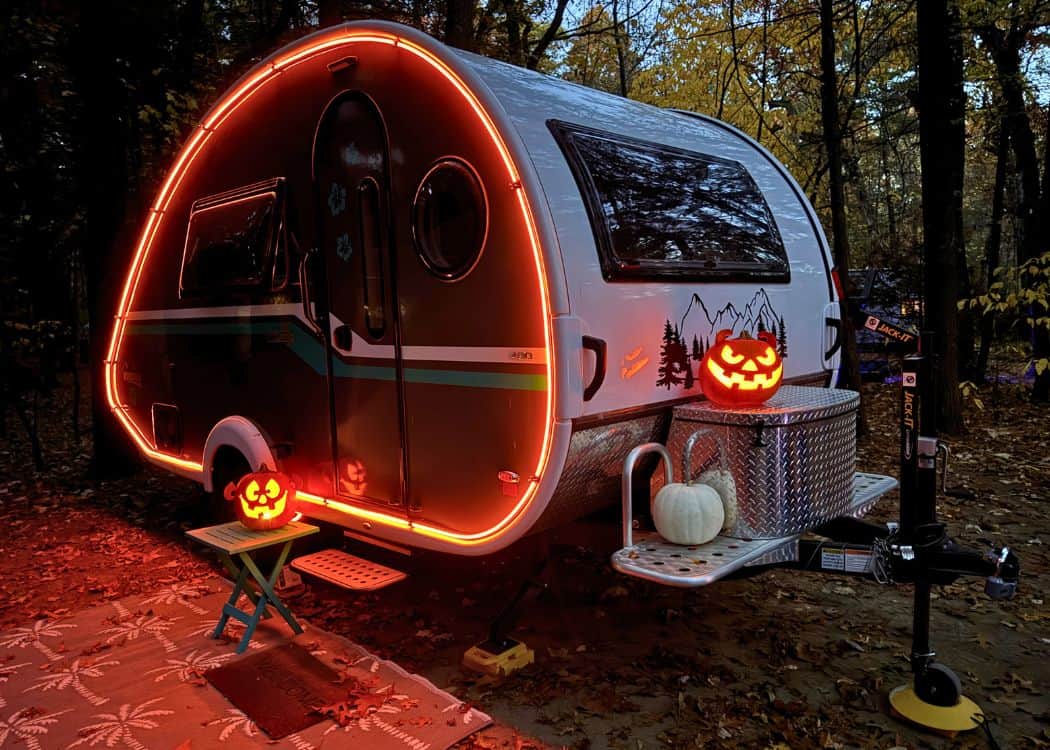
The only time that you wouldn’t need to winterize is if you did not use your plumbing.
Keep in mind, even if you only used your plumbing a few times during the camping season, you would still need to go through the process.
It’s surprising how much liquid can hide in the system.
Winterizing the Plumbing System
Because we think that this is the most important step (and it can get a little messy), we always tackle the plumbing aspect of winterization first.

Keep in mind that these instructions are geared toward a NuCamp TAB 400 Boondock.
Your model year trailer may differ slightly from our 2023, but the process should still be the same.
Get Your FREE Winterization Checklist Here!
Step 1: Drain the Plumbing System
Start by setting your Nautilus panel to Power Fill mode (follow the diagram on the sticker). Then:

- Open the freshwater tank drain and both hot and cold low-point drains.
- Empty the black tank at a dump station, then open the gray tank.
- Inside, remove the panel under the bed to access the water heater drain. Lift the lever and let it drain until it’s empty.
- Once everything is drained, close all the valves again.
Step 2: Blow Out the Lines with Air
Next, you’ll want to clear the lines with compressed air.
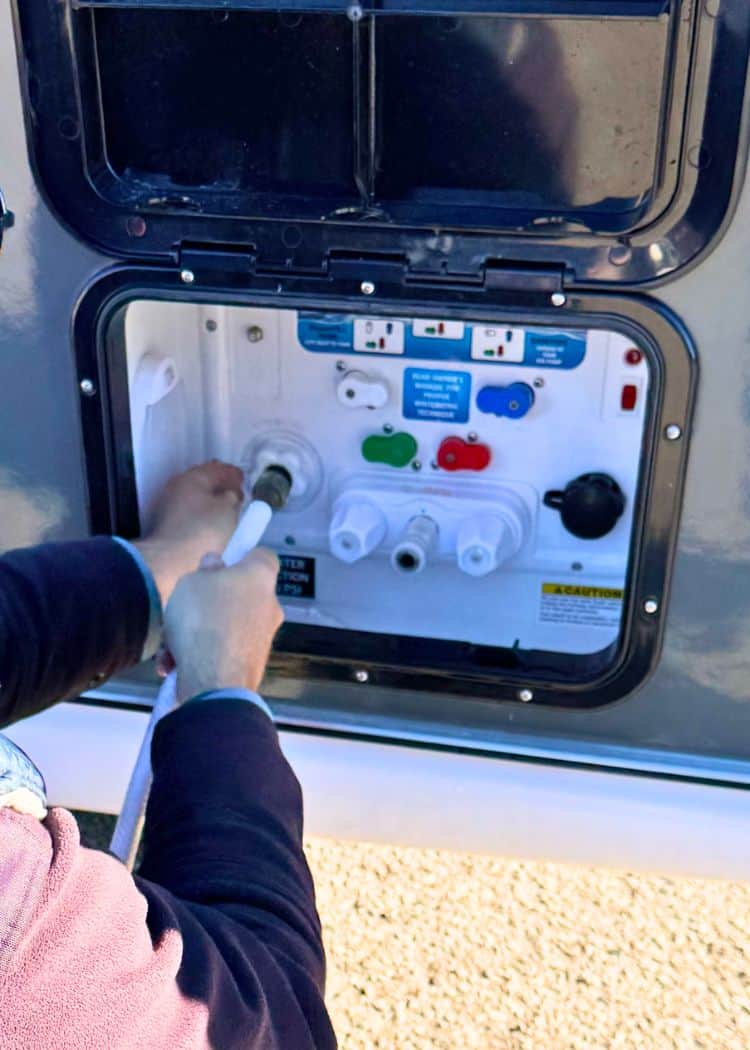
- At the Nautilus panel, set each knob to a 45° angle.
- Remove the screen from the city water inlet and attach your air compressor.
- Use 40 PSI of pressure. Open each faucet one at a time until only air comes out, then close it.
- Do this for sinks, shower, outside shower, low-point drains, and the water heater.
- Replace the screen and secure the bed panel again.
Step 3: Pump Antifreeze Into the System
Now it’s time for antifreeze.

- Turn the Nautilus knobs to the Winterize position.
- Connect a short garden hose to the city water inlet and drop the other end into a jug of RV antifreeze.
- Turn on the water pump to siphon the antifreeze through the system.
- Open every faucet—kitchen, bathroom, and shower—until pink liquid comes out. Be sure to run both hot and cold sides.
- Pour antifreeze into the shower drain to protect the trap, and into the toilet bowl to protect the seal.
- Don’t forget the outside shower hose. Run both taps until you see pink.
Preparing the Interior Of Your Teardrop Trailer
Now that the messy plumbing work is done, and you inevitably have pink antifreeze everywhere, it’s time to do a little clean-up on the inside of your Teardrop.
Step 4: Clean, Dry, and Prep the Interior
With the water systems done, I turn to the inside of the trailer.

- Remove food, drinks, toiletries, bedding, and anything that might freeze or attract critters.
- Vacuum the floor and wipe down counters and cabinets.
- Leave the fridge door cracked open to prevent mould.
- You can vent the windows if you plan to cover your Teardrop.
Preparing the Exterior of Your Teardrop Trailer
Once the inside is spic and span, we turn our attention to the outside of the trailer.
You are going to need a good ladder that can reach the roof of your trailer, and maybe a helping hand, for this part.
Step 5: Protect the Exterior and Seals
Before we store our trailer, John likes to give it a good wash.

- Lubricate locks and hinges so they don’t seize up in the cold.
- A coat of wax helps protect the finish over winter.
- Inspect seals around doors, windows, outside electric outlet, bumpers, and roof vents. Reseal if you notice any cracks.
- Close roof vents or fans to keep water and critters out.

Step 6: Battery Care
Whether you have a lead-acid or lithium battery, winter storage is critical.
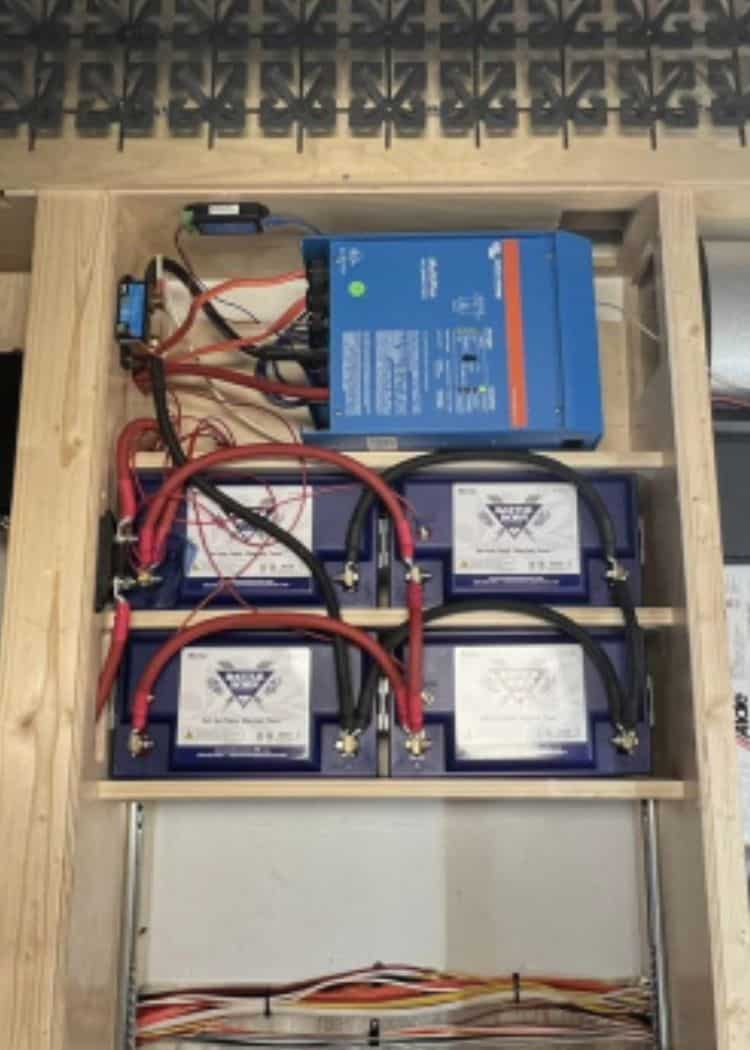
- Lead-acid batteries: Disconnect, clean terminals, and store indoors if possible. Keep on a trickle charger through the winter.
- Lithium batteries: Remove if freezing temperatures are expected. Store indoors in a cool, dry place above freezing. Keep charge between 40–60% and top up with a lithium-compatible maintainer every month or two. Charge fully before reinstalling in the spring.
Step 7: Propane and Appliances
Propane and appliances need attention, too, before storing your trailer for winter.

- Unplug all appliances inside the trailer (we just turn off our fridge rather than unplug it). Wipe the appliances down and make sure they’re dry before closing up.
- Leave the fridge door ajar or in the vented position to prevent mould.
- Turn off propane tanks and remove them if you can. Store outdoors in a safe, ventilated spot.
- Inspect propane lines and fittings for wear or leaks.
Step 8: Tires, Frame, and Underbody
Even when sitting still, your tires need care.
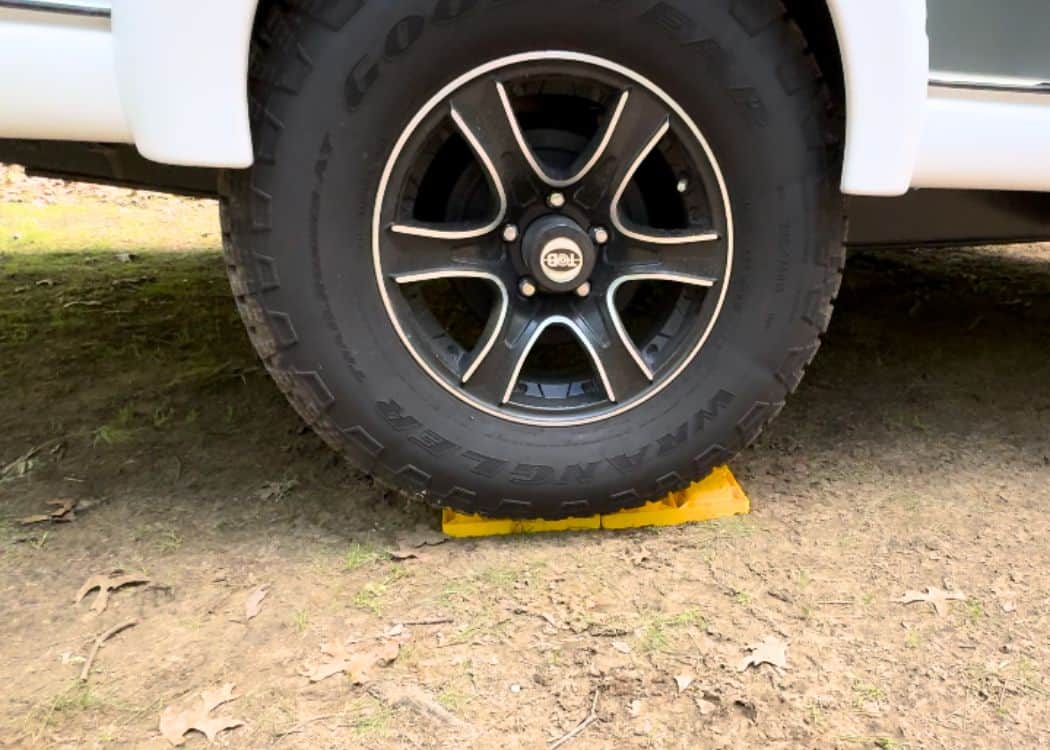
- Inflate them to the proper pressure before storage.
- Use tire covers or park on wooden blocks to keep them off frozen ground.
- If you can, roll the trailer a little during the winter to avoid flat spots.
- Give the frame and underbody a good rinse and look for any rust that needs treatment.
Final Storage Considerations
Before you walk away for the season, there are a few last checks to make sure your teardrop is safe and sound all winter
Step 9: Moisture and Pest Prevention
Moisture and rodents can cause just as much trouble as frozen pipes. Taking a few extra precautions now will save headaches later.
We always remove the bedding and the mattresses and store them indoors. This way, I don’t have to worry about critters making a nest or moisture ruining my bedding.

- Place moisture absorbers inside cabinets, closets, and near the bed to cut down on condensation (We use DampRid).
- Leave the fridge and freezer doors cracked open so mould doesn’t form.
- Seal small gaps or openings around vents and utility lines with steel wool or foam plugs to keep mice out.
- Remove all food and toiletries so there’s nothing to attract pests.
- Some campers also place dryer sheets or peppermint oil on cotton balls inside as a deterrent for rodents.
Step 10: Cover and Store the Camper
Now your trailer is ready for its winter nap.
- Use a breathable trailer cover designed for teardrops to protect the finish without trapping moisture.
- Many people will cling wrap their windows to prevent scratches from when the cover flaps against them in the wind.
- Store indoors if you can (garage or carport). If outside, choose a spot with good drainage so water and snow don’t pool around the frame.
- Do a final walk-around to double-check that all vents, windows, and doors are secure.
- Check on the trailer a few times during the winter to make sure everything is still in good shape.
Get Your Winterization Done Professionally
If winterizing your teardrop trailer feels overwhelming, you can always have it done by a professional.
When we bought our first trailer, the dealership staff handled the winterization for us.

It was a huge relief for us as new owners, as we already had so much to learn.
If possible, ask if you can watch the process so you’ll feel more confident doing it yourself the following year.
Final Thoughts
Winterizing your teardrop trailer takes a bit of time, but we definitely think that it’s worth it.
A little effort now keeps your trailer safe through the cold months and ready to roll when spring camping season arrives.
Pin This Post for Later!

Related Posts:
- How to Winterize Your Teardrop Trailer in 10 Easy Steps (With FREE Checklist)
- The Ultimate Guide to Camping with Your Dog
- Best RV Campsite Setup Ideas for Your Teardrop Trailer
- Ultimate RV Departure Checklist for Teardrop Trailers
- Ultimate RV Arrival Setup Checklist for Teardrop Trailers
- How to Level a Travel Trailer & Why It’s So Important
- Top 15 Tips for Towing a Teardrop Trailer with Your Family Car
- How to Dewinterize Your Teardrop Trailer
- How To Use an RV Dump Station for the First Time
- How to Book an Ontario Provincial Park Campsite – An Ultimate Guide
- How to Book a Parks Canada Campsite – An Ultimate Guide
- Camping with A Teardrop Trailer – How to Plan the Perfect Trip
